
Gunung Tampin: A Hiker's Guide (2026)
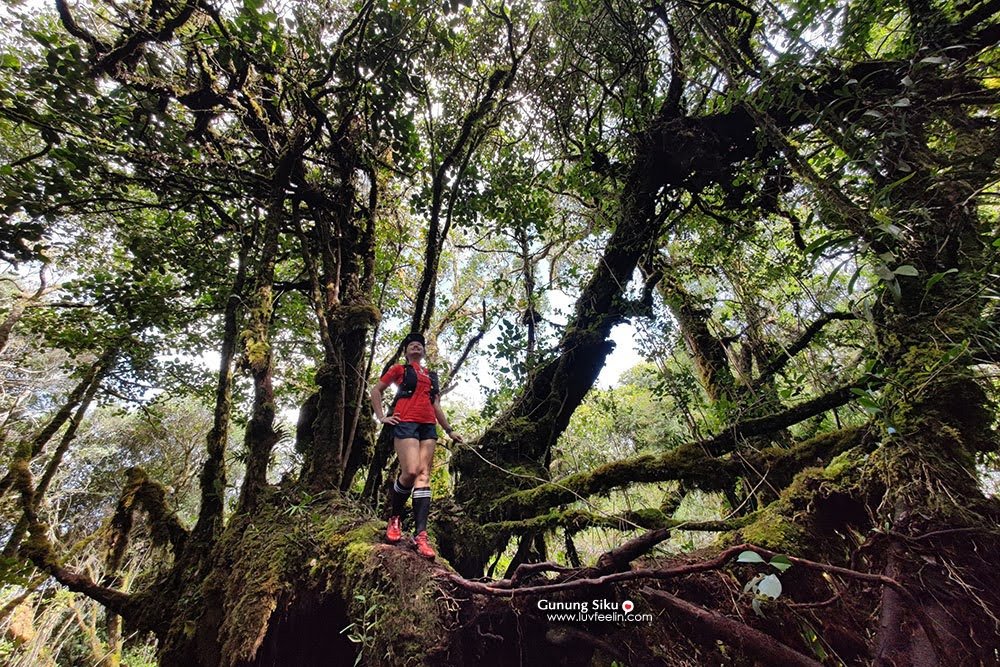
Gunung Tampin sits quietly in the Tampin Recreational Forest, right on the Negeri Sembilan-Melaka border, and it doesn't get half the attention it deserves. While weekend warriors are queuing up for Gunung Datuk nearby, Tampin stays relatively unspoilt — virgin forest, decent views, and trails that still feel like proper jungle rather than a highway with roots.

This is a flexible hike. You can knock out a single peak in under two hours if you're just looking for a quick Saturday morning outing, or link up both Gunung Tampin Selatan (764m) and Gunung Tampin Utara (728m) for a more serious multi-peak route. The caveat: sources on timing and distance vary quite a bit, so don't go in with a rigid plan. Go in prepared for the terrain, and let the mountain set the pace.
Suits beginners doing the solo peak route if they're reasonably fit. Intermediate hikers will enjoy the multi-peak traverse. Anyone who hates leeches should read the hazards section carefully before deciding.
Quick Facts
- Highest point: Gunung Tampin Selatan — 764m
- Other peaks: Gunung Tampin Utara — 728m; Bukit Tampin — 560m
- Distance: 2.31 km one-way (solo peak) to 12.1 km out-and-back (both peaks) — route variants affect this significantly
- Elevation gain: 616m to 831m depending on route
- Duration: 1.5 hours one-way (solo peak) to around 5 hours for the extended route — sources conflict, budget generously
- Difficulty: Easy to moderate (solo peak); intermediate to challenging (multi-peak route)
- Trailhead: Tampin Recreational Forest, Tampin District, Negeri Sembilan
- Permit: Unclear — check before you go (see Permits section)
- Best time: Year-round; avoid rainy season for safer footing
Getting There & Parking
The main trailhead is at Tampin Recreational Forest in Tampin District, Negeri Sembilan, close to the Melaka border. The primary parking area is near Jalan Ametis Utama — tarred road access, reasonably straightforward to reach. On weekends this lot can fill up, so arrive early if you don't want to park further away and add to your walking distance.
There's a smarter option: the Telekom Malaysia carpark sits closer to the peaks and reportedly cuts the initial walking distance by about two-thirds. There's also parking at the foot of Tampin Hill outside the park entrance. Worth checking which starting point suits your planned route before you go — the difference in starting point changes your distance and time considerably.

Permits & Fees
Honestly, the permit situation here is murky. Some sources list Gunung Tampin as free entry; others mention an entrance fee. If you're hiking the Trans-Naning Trail corridor that passes through this area, there's a reported RM5 per person fee at the Gunung Datuk entrance with mandatory sign-in and sign-out. Whether that applies to a standalone Gunung Tampin hike is not clearly confirmed.
On the guide requirement: Selangor requires a registered guide for peaks above 600m. Gunung Tampin Selatan at 764m would exceed that threshold, but whether Negeri Sembilan enforces a similar rule is unconfirmed. Don't assume it doesn't apply — check directly with the Tampin Recreational Forest authority before planning your trip.
Trail conditions and permit requirements change — always check with the local forestry office or park authority before you go. Or ask the TAHAN Hiking Community on WhatsApp — someone's usually been there that week. Checking a different gunung? Try our free permit checker — instant answer for 90+ Malaysian mountains.
The Trail: What to Expect
The route has multiple variants depending on your starting point and how many peaks you're targeting. Below is the general sequence from the main trailhead to both summits. Stages will vary if you start from the Telekom carpark.
Stage 1: Parking Area (Jalan Ametis Utama) to Park Entrance
From the main parking area, you follow a tarred road toward the park. It's a gentle start — don't be lulled into complacency. Along this stretch you'll pass a waterfall with a crystal-clear pool, which is a legitimate highlight and a good spot to rest before things get steeper. The water looks inviting (and at least one visitor has left a review basically just saying "love to swim"), but its safety as a drinking source isn't confirmed, so treat it as a landmark rather than a top-up point.

Stage 2: Park Entrance to Bukit Tampin (560m)
Past the gate, the trail starts climbing. Bukit Tampin at 560m is marked by a telecommunications tower — it's a useful waypoint but note that photography is not allowed there. This is a sensitive facility, so put the camera away when you reach that spot. The terrain here can get muddy after rain, and leeches start making appearances. Check your shoes and socks regularly from this point on.

Stage 3: Trans-Naning Trailhead Junction
After Bukit Tampin you'll hit the Trans-Naning Trail junction. This is a decision point — the Trans-Naning Trail connects to Gunung Datuk territory and carries its own permit requirements. If you're sticking to the Gunung Tampin peaks, stay on the correct trail. This junction is where it's easy to go wrong if you're not familiar with the area, so study your route beforehand or hike with someone who knows it.
Stage 4: Gunung Tampin Selatan — Summit (764m)
The highest point on this hike. Some sections of the climb hit gradients of 50 to 60 degrees — that's steep enough that you'll be using your hands on roots and rocks. Don't underestimate it. The views from the top justify the effort: open vistas, forest stretching out toward Melaka, the kind of scene that makes the leech-removal stops worth it.

Stage 5: Gunung Tampin Utara (728m) — Extended Route Only
If you're doing the multi-peak route, continuing to Gunung Tampin Utara at 728m extends your hike significantly — total out-and-back distances up to 12.1 km have been reported. This section pushes the difficulty into intermediate-to-challenging territory. The trail remains in dense forest, which is good for biodiversity (birdwatchers, this mountain is worth your time) but adds navigation demands. Budget at least 5 hours total for this full route, and honestly, pad that further if you're not moving fast.

Descent & Safety
Going down Gunung Tampin is where people get into trouble. Those 50-60 degree inclines that tested your quads on the way up become proper slip hazards on descent, especially on muddy trail after rain. Take your time. Use trees and roots as anchors. Wet mud on a steep slope is not the place to rush.
Key hazards to manage:
- Leeches: Expect them, especially in wet conditions. Wear leech socks or tuck pants into socks. Bring salt or a leech-removal tool.
- Mud and slippery terrain: Worst during and after the rainy season. Proper grip footwear is non-negotiable.
- Steep inclines (50-60 degrees): Both ascent and descent. Trekking poles help significantly on descent — this is exactly when you want them.
- Insects: Bring repellent. Apply it.
- Wild boar: Sightings have been reported. Don't approach, don't feed, give them space and they'll usually move on.
- No photography at the telecommunications tower.
If weather turns bad mid-hike — heavy rain, thunderstorm — turn around. The steep sections become genuinely dangerous when wet, and there's no summit view worth a slip on a 60-degree muddy slope. The mountain will still be there next weekend.
What to Bring
Pack for a proper jungle hike, not a park stroll. The short solo-peak option can be done light, but the multi-peak route needs more thought.
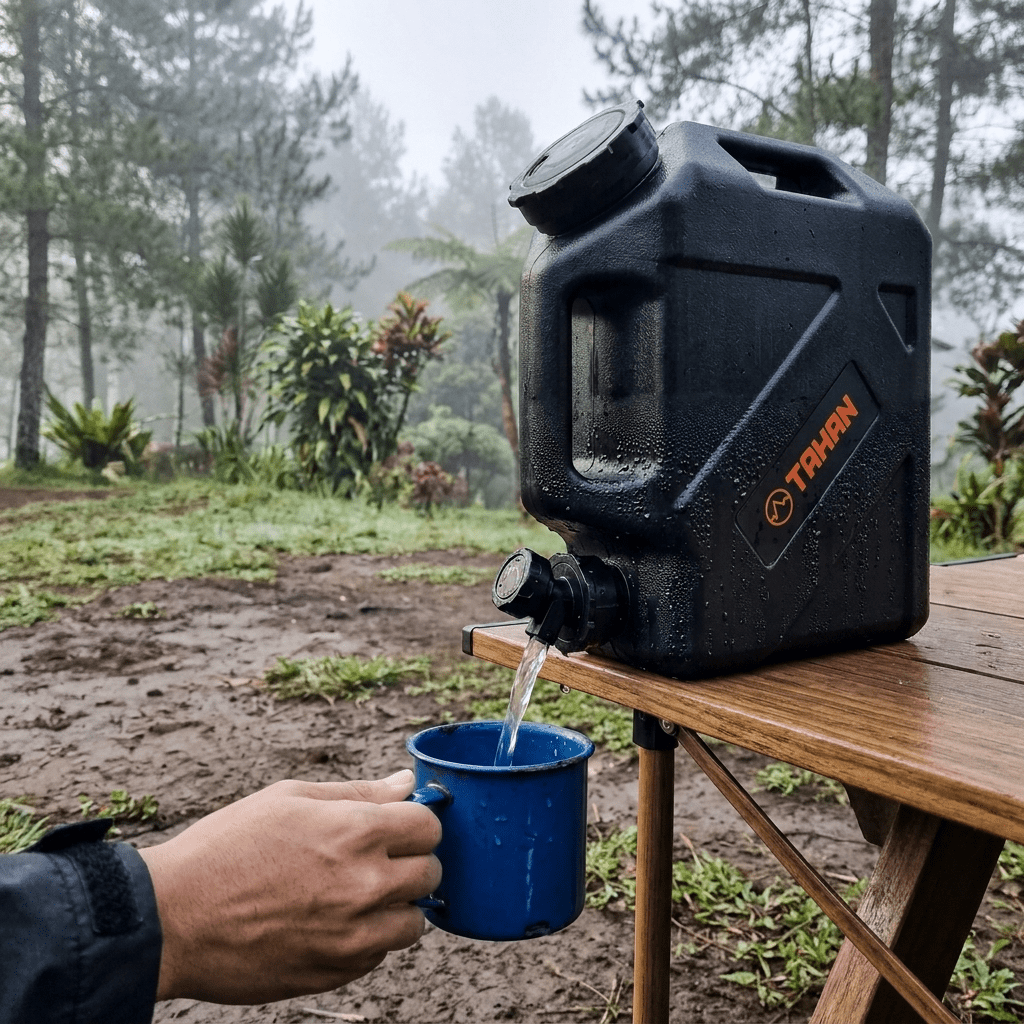
- Water: Carry enough for the full hike. The waterfall is a landmark, not a confirmed drinking source. For the longer route, a hydration bladder like the TAHAN TrailBladder 2L keeps water accessible without stopping to dig through your bag.
- Trekking poles: On 50-60 degree descents with mud involved, poles are not optional extras — they're sensible kit. The TAHAN 3-Section Foldable Hiking Stick V2 packs down small and earns its place on steep terrain like this. Check our hiking gear guide if you're figuring out what pole setup works for Malaysian trails.
- Proper hiking footwear: Grippy soles, ankle support. Trail runners work for the solo peak; boots are better for the full route in wet conditions.
- Leech socks or gaiters: Non-negotiable if you've ever met a leech and disliked the experience.
- Insect repellent: Apply before you start, reapply at the trailhead proper.
- Food and snacks: There are no facilities on trail. Bring enough. The waterfall area and summit are decent spots to eat.
- Rain jacket or poncho: Weather can shift quickly. Always.
- First aid basics: Plasters, antiseptic, blister care.
- Fully charged phone with offline maps downloaded.
FAQ
How hard is Gunung Tampin?
Depends which route you do. The solo peak (Gunung Tampin Selatan) is rated easy to moderate — manageable for reasonably fit beginners, but there are steep sections up to 50-60 degrees and the terrain gets slippery in wet weather. The multi-peak route covering both Selatan and Utara moves into intermediate to challenging territory. Don't go solo if you're new to jungle hiking.
How long does the Gunung Tampin hike take?
Sources vary quite a bit on this. For a solo peak, 1.5 hours one-way is the figure quoted — but build in buffer time for the terrain. The full extended route to both peaks takes up to around 5 hours according to available data, but trip reports suggest this number can shift depending on pace, conditions, and where you start. When in doubt, budget more time and start early.
Do I need a permit for Gunung Tampin?
This is genuinely unclear. Some sources say free entry; others mention a fee. The Trans-Naning Trail corridor carries a reported RM5 fee. A guide requirement may apply for the 764m peak depending on Negeri Sembilan regulations, but this hasn't been officially confirmed. Contact the Tampin Recreational Forest office directly before your trip — don't assume it's free and show up without checking.
Is Gunung Tampin good for beginners?
The solo peak route, in dry conditions, is suitable for beginners who are reasonably fit and properly equipped. Leeches, mud, and steep sections mean it's not a casual stroll — come with the right footwear and expectations. The multi-peak route is not a beginner hike.
Camp Nearby?
Making a weekend of it? The Tampin area puts you within reach of some decent spots to base yourself the night before an early start. For something comfortable, De Star Glamping, Lenggeng is worth a look. If you prefer a more farm-stay vibe, Laman Eden Campsite Farm and Homestay is a solid option. Further out but popular with the Negeri Sembilan-Selangor crowd, Nature Haven Glamping, Broga offers a comfortable glamping setup if you want something easy after a tough day on the trail.
Trail conditions, permit updates, and hiking buddies for the weekend — all in one WhatsApp group. Just ask; someone was probably up there last week.
💬 Join the Hiking CommunityFree, one click. No spam — the occasional promo at most.
Gear tip: How to use a trekking pole (and set the height).
Mike has been camping across Malaysia for over 10 years — from jungle treks in Taman Negara to beach camps in Perhentian. He writes about it so you don't have to find out the hard way. Follow along on TAHAN Outdoor's blog for honest campsite reviews, every week.