
Gunung Rajah: A Hiker's Guide (2026)
Gunung Rajah sits on the Titiwangsa Range straddling Pahang and Selangor, topping out at 1,683–1,685 m. It is not a weekend warrior's mountain. Two routes get you up there — the KKB/Selangor side from Kampung Pertak, and the longer Chamang/Bentong side from Pahang — and both will test you properly. We're talking roped near-vertical rock faces, river crossings that soak your shoes for the entire journey, relentless roller-coaster terrain, and round-trip times that almost guarantee you'll be hiking in the dark. If you've done Gunung Nuang and want something harder, Rajah is the next conversation.

This is a mountain for experienced, fit hikers only. If your longest hike so far is Broga or Bukit Tabur, please come back after you've built more base. But if you've got the legs, the gear, and a good guide — the payoff at the top is real: 360° views across the Titiwangsa Range, mossy forest with pitcher plants, glow-in-the-dark mushrooms along the trail, and a summit that feels properly earned.
This guide covers both routes so you can choose the one that fits your plan. Read it fully before you commit — Gunung Rajah punishes under-preparation.
Quick Facts
- Summit elevation: 1,683–1,685 m (Banjaran Titiwangsa)
- Route A — KKB/Selangor (Kampung Pertak): ~11.8 km one-way / ~23.6 km return; elevation gain ~2,530 m; 12–14 hours round-trip
- Route B — Chamang/Bentong (Pahang): ~26.8 km one-way / ~53.6 km return (some reports cite ~34 km to peak including logging road); elevation gain ~2,074 m; 13–22 hours (2 days/1 night strongly recommended)
- Difficulty: Extremely Challenging — experienced, fit hikers only
- Guide: Compulsory on both routes
- Permit: Required on both routes (separate state authorities)
- Summit camping: No longer recommended due to lightning incidents
Getting There & Parking
Route A — KKB/Selangor: Trailhead is at Bukit Kutu & Gunung Rajah Trailhead, Kampung Pertak, Kuala Kubu Bharu, roughly 11 km east of KKB town. If you're driving, take the North-South Expressway to KKB and follow signs toward Kampung Pertak. No car? KTM Komuter gets you to KKB station, then it's a taxi about 11 km to the trailhead. Parking near the Pertak river/trailhead is ample — you pay the Orang Asli at the entrance, somewhere in the RM 1–2 per person range (sources disagree on the exact amount, so bring small change either way).
Route B — Chamang/Bentong/Pahang: Trailhead is at Pusat Rekreasi Chamang (Chamang Waterfall Recreation Park), Bentong. From KL, take the Karak Expressway toward Bentong and search 'Air Terjun Chamang' on Waze — it'll get you there. There's a proper car park at the recreation area. Worth noting: the waterfall here is genuinely nice for a post-hike cool-down if your legs still work.
Permits & Fees
Pahang side (Chamang/Bentong): Permit from Jabatan Hutan Pahang. Apply online at apps.forestry.pahang.gov.my/ekorimba or walk in to Pejabat Hutan Daerah Bentong. Fee is RM 10 per person (2024 figure — older sources cite RM 5, so assume it can only go up). Apply at least 14 days in advance; don't leave this to last minute.
Selangor side (KKB): Permit from Pejabat Hutan Daerah Hulu Selangor. After getting your permit, you also need to submit a copy to Kuala Kubu Bharu Police Station (24 hours before). Estimated fee is RM 10 for locals (2024), but confirm this when you apply. If you're going with a licensed operator, guide fees run around RM 720 for a group of up to 7 pax — worth factoring into your budget.
Trail conditions and permit requirements change — always check with the local forestry office or park authority before you go. Checking a different gunung? Try our free permit checker — instant answer for 90+ Malaysian mountains. Or ask the TAHAN Hiking Community on WhatsApp — someone's usually been there that week.
The Trail: What to Expect
Both routes converge near the summit. Route A (KKB) is shorter in distance but has massive elevation gain. Route B (Chamang) is longer but starts lower — pick your poison. Here's what each route throws at you.

Route A (KKB): Trailhead to 1st & 2nd Bridge
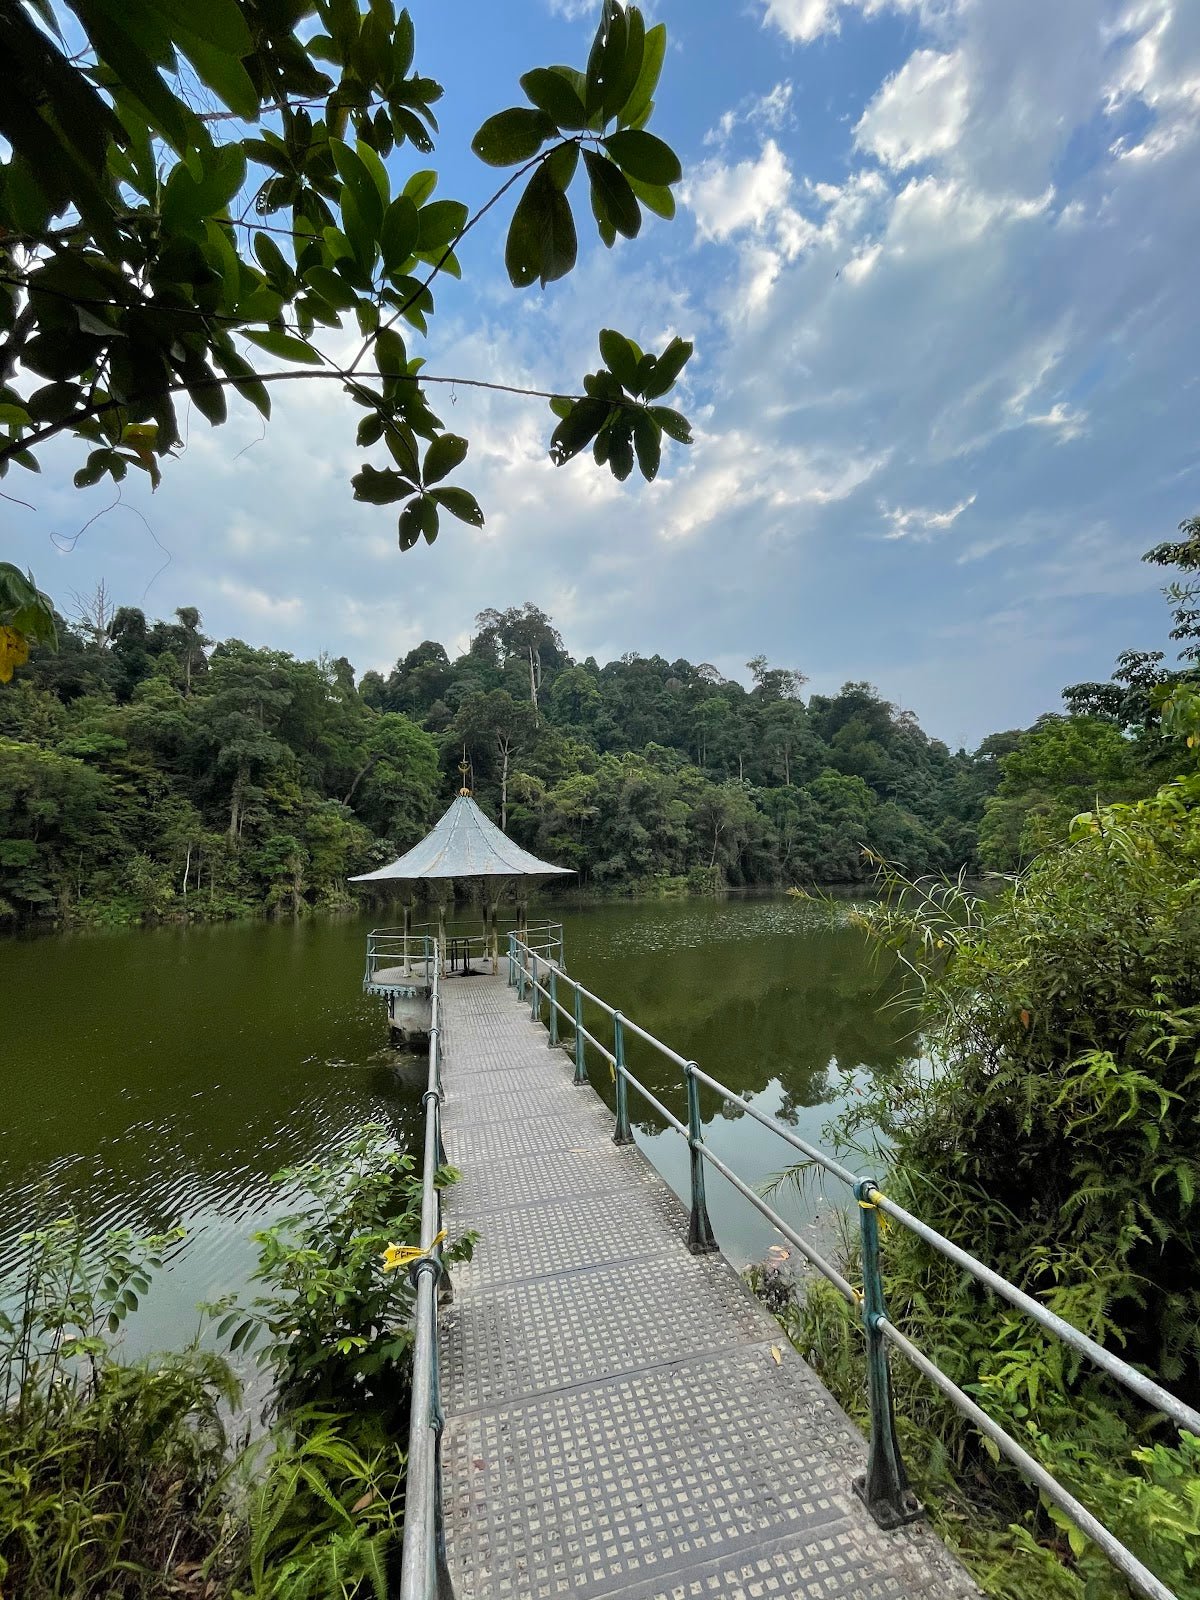
You start from Kampung Pertak. Expect the village dogs to tag along for a bit — they're harmless but can be startling at 4am when you're half asleep. The early trail winds through forest to two river bridges. These crossings give you a preview of what's ahead. Footing matters here — mossy rocks and moving water are slippery even in dry conditions.
Route A: Lata Makau / Gunung Rajah Junction to Kem BMW (~6 km)
After the junction, the trail climbs more seriously. Kem BMW sits at roughly the 6 km mark and is the most popular overnight camp on this route. If you're doing a 2-day trip on Route A, this is your stop for the night. There's a river nearby for water refill — use it, because the next reliable refill is much further up.

Route A: Kem Botol → Kem Renoma → Last Water Point → Kem R&R
This middle section is where Gunung Rajah earns its reputation. The terrain is relentlessly undulating — you climb, think you're getting somewhere, descend, and repeat. It's mentally grinding. Kem R&R is your last confirmed water point before the summit push. Fill up everything you have here — minimum 3 L if you're going self-sufficient from this point. Do not skip this.
Route A: Kem R&R → Check Point → Kem Asyur → False Peak
The trail steepens considerably. You'll hit a false peak before the true summit — this is a known morale-crusher, especially if you're already running low on energy. Your guide will have warned you, but it still stings. Don't celebrate too early.
Route A: Roped Rock Section and Summit
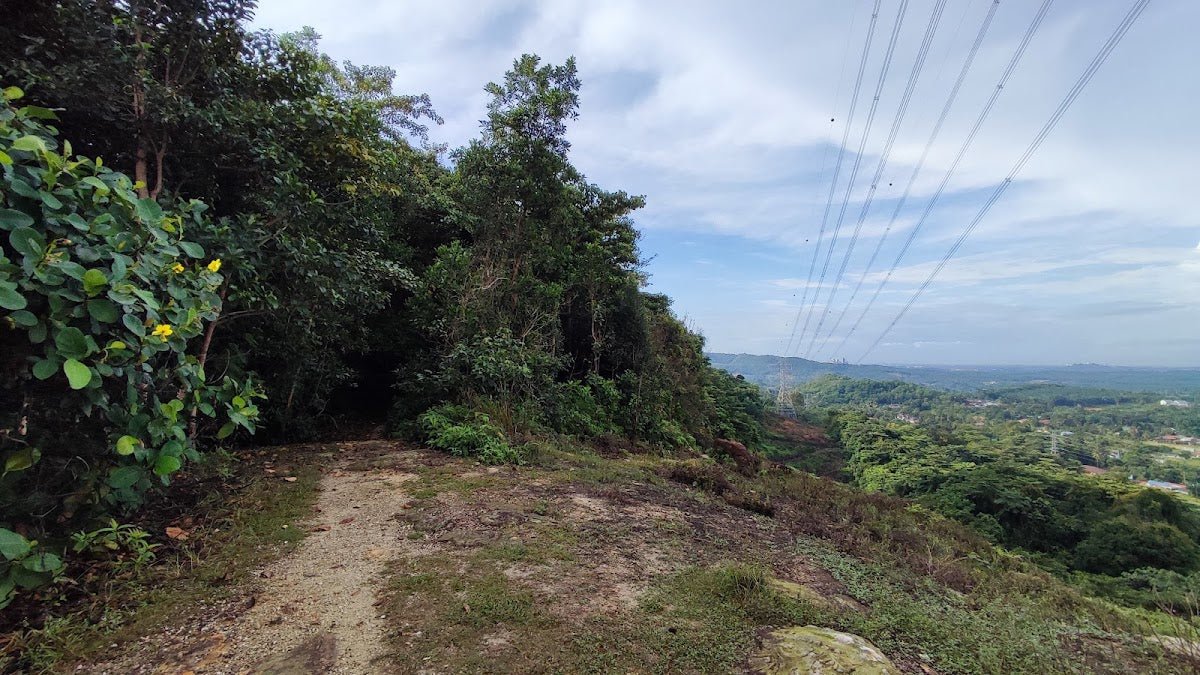
At roughly 1,575 m elevation, you hit the crux: a near-vertical (~90°) roped rock face with a single aluminium ladder. This is the most dangerous section of the entire mountain. Take it one person at a time, move deliberately, and don't rush the person above you. No sudden movements on the ladder. After this section, the summit at 1,683–1,685 m opens up — rocky outcrop, low vegetation, a dark red summit sign, and on a clear day, views of Gunung Nuang to the south, Gunung Semangkok to the north, and Gunung Benum to the north-east. Worth it.

Route B (Chamang): Trailhead to Lata Naning Camp
From Chamang Waterfall Recreation Park, the trail immediately gets into serious rainforest. The first major feature is a river crossing — and from here on, your shoes are wet. Doesn't matter how good your waterproofing is. Accept it early and pack an extra pair of socks. The trek through deep rainforest to Lata Naning camp is long and humid. This is where you'll likely spot glow-in-the-dark mushrooms if you're doing a night section — genuinely cool.

Route B: Lata Naning → Kem Batu Hijau → Junction with Route A
Multiple river and stream crossings continue through this section. The undulating 'roller coaster' terrain of Gunung Rajah hits hard on the Chamang side too. Kem Batu Hijau is an intermediate camp. From here the route climbs toward the summit junction where it meets Route A. On this route, 13–22 hours total is the realistic range — the wide spread reflects how different group fitness levels play out on very long terrain. Two days with an overnight camp is not optional for most people, it's just the right call.
Both Routes: Summit Area
The summit has no confirmed potable water source. Both routes converge near the top, and the summit itself is clear of tall vegetation — you get full sky above you. The mossy forest ecosystem on the approach features pitcher plants (Nepenthes spp.) and forest orchids. Summit camping is no longer recommended here following past lightning incidents; plan your turnaround time accordingly.

Descent & Safety
The descent is where a lot of accidents happen — legs are tired, concentration drops, and steep terrain becomes more dangerous, not less. On Route A, that roped rock section going down requires the same care as going up, probably more. Control your speed on the rope; don't lean back and slide.
Key hazards to know before you go:
- Near-vertical roped rock face (~90°) with aluminium ladder at ~1,575 m — single most dangerous point on the mountain; go one at a time, no rushing
- False peak — disorientation risk; trust your guide on summit confirmation
- River crossings — especially on Chamang route; wet shoes the entire journey; flash flooding risk in bad weather
- Lightning at summit — open rocky summit with no shelter; do not linger if clouds are building; summit camping no longer recommended for this reason
- Roller-coaster terrain — physical and mental fatigue from false ascents; pace yourself from the start, not after you've blown up
- Night hiking — both routes will likely require at least some night sections; headlamp with fresh batteries is non-negotiable
- Navigation — guide is compulsory; solo navigation here is not advisable regardless of GPS
Turn back if: heavy rain sets in on the river sections (flash flood risk), visibility drops severely on the upper ridge, or anyone in your group hits the wall badly before the rock face section. Getting down a known trail in deteriorating weather is always the right call over pushing for a summit in bad conditions. Gunung Rajah will still be there next time.
What to Bring
This is a long, hard mountain with wet conditions, serious elevation gain, and sections requiring hands-on scrambling. Pack for it properly.
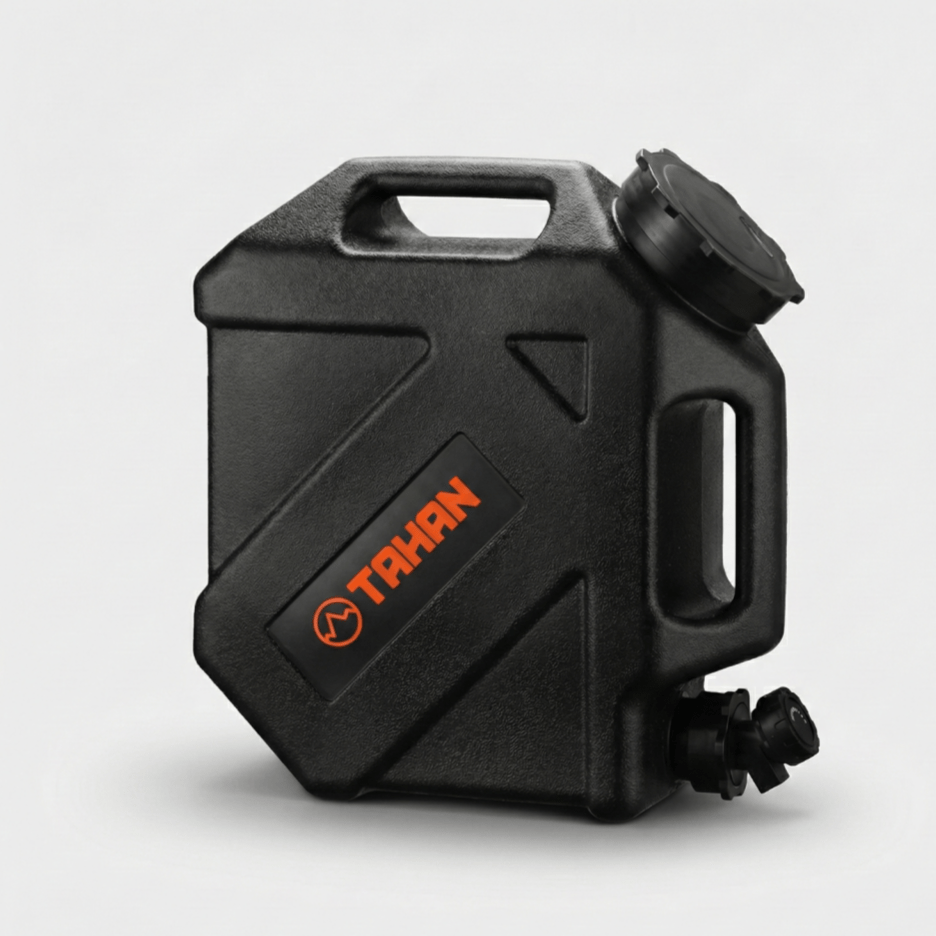
- Water: Minimum 2 L if refilling at river points en route; minimum 3 L if self-sufficient from Kem R&R upward. Filter or purification tabs for river water.
- Food: High-calorie, easy-to-eat trail food. For a 2-day Chamang trip, plan proper meals — not just snacks.
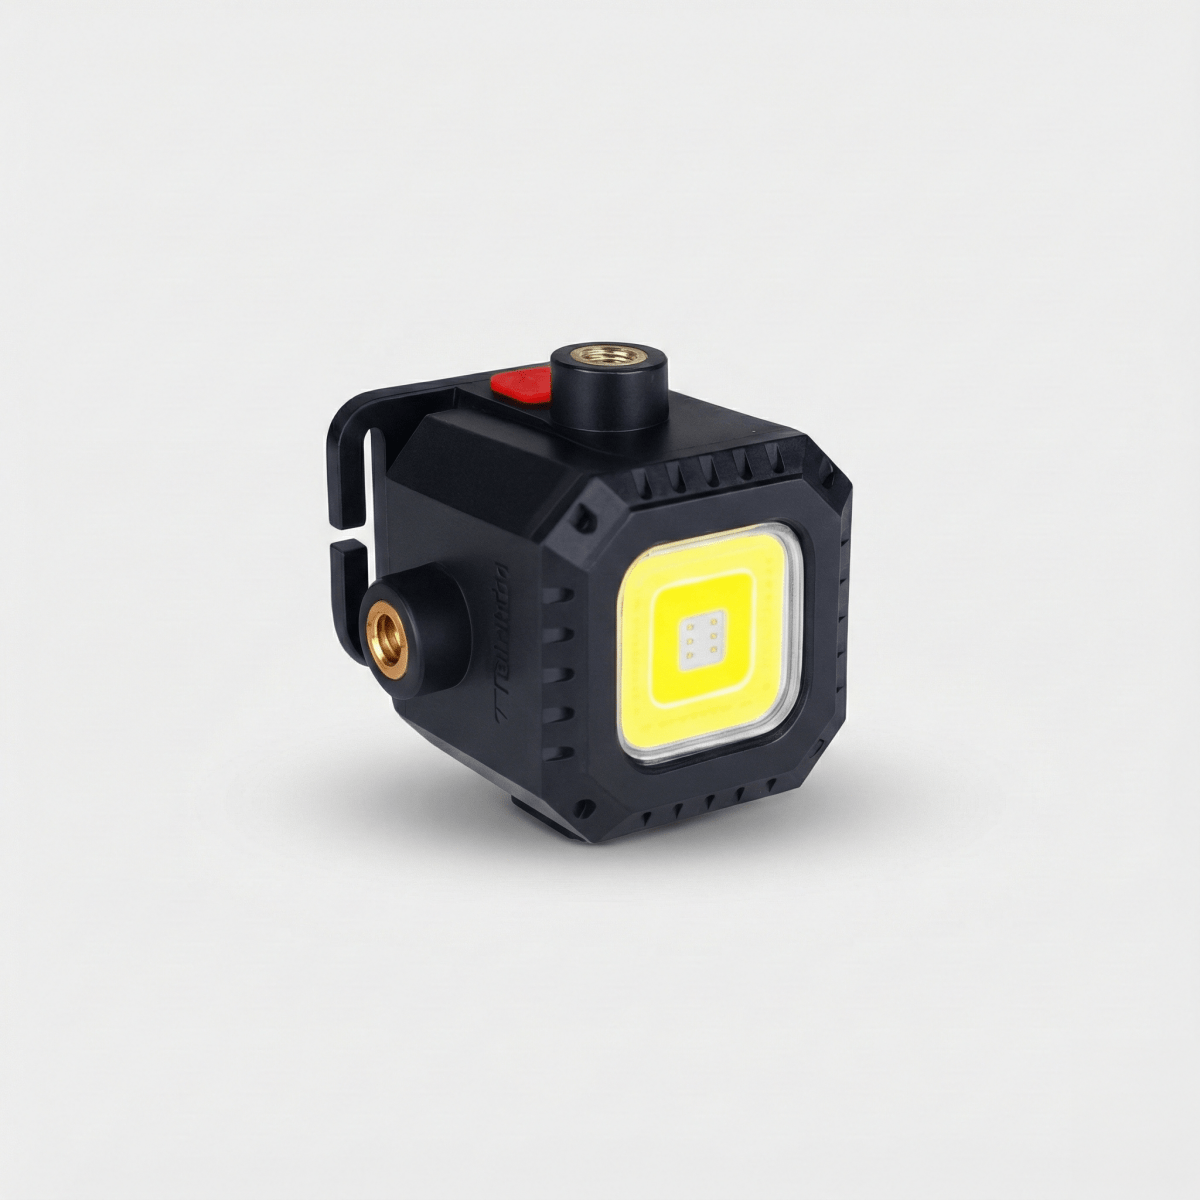
- Headlamp: With spare batteries. Night hiking on both routes is expected, not just possible.
- Trekking poles: Non-negotiable on this terrain. The TAHAN 3-Section Foldable Hiking Stick V2 (RM99) packs away when you need both hands for the rock sections but earns its weight everywhere else on the roller-coaster terrain.
- Knee protection: After 23+ km of undulating trail, your knees will know about it on the way down. The TAHAN Kinetix Knee Guard With Spring Support (RM79) is worth packing, especially if you've had knee issues before. Check our hiking gear guide if you're not sure how to choose the right support for your needs.
- Footwear: Proper trail shoes or hiking boots with grip. Accept they will be wet, especially on Route B. Spare socks are essential.
- Rain gear: Lightweight poncho or rain jacket. Highland weather changes fast.
- Gloves: For the roped rock section — rope burn on bare hands on a 90° face is unpleasant.
- First aid kit: Blister pads, antiseptic, compression bandage.
- Emergency whistle and fully charged phone.
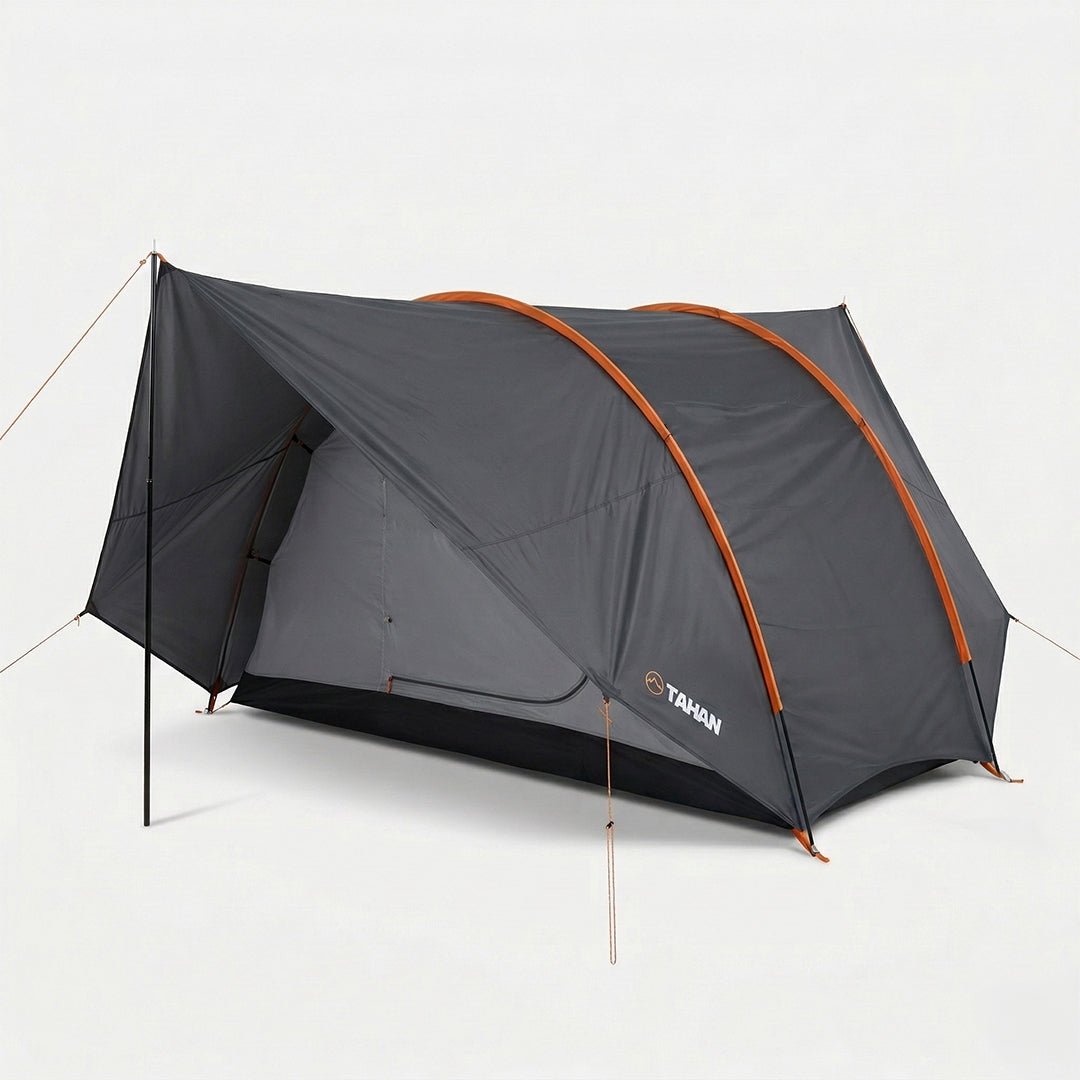
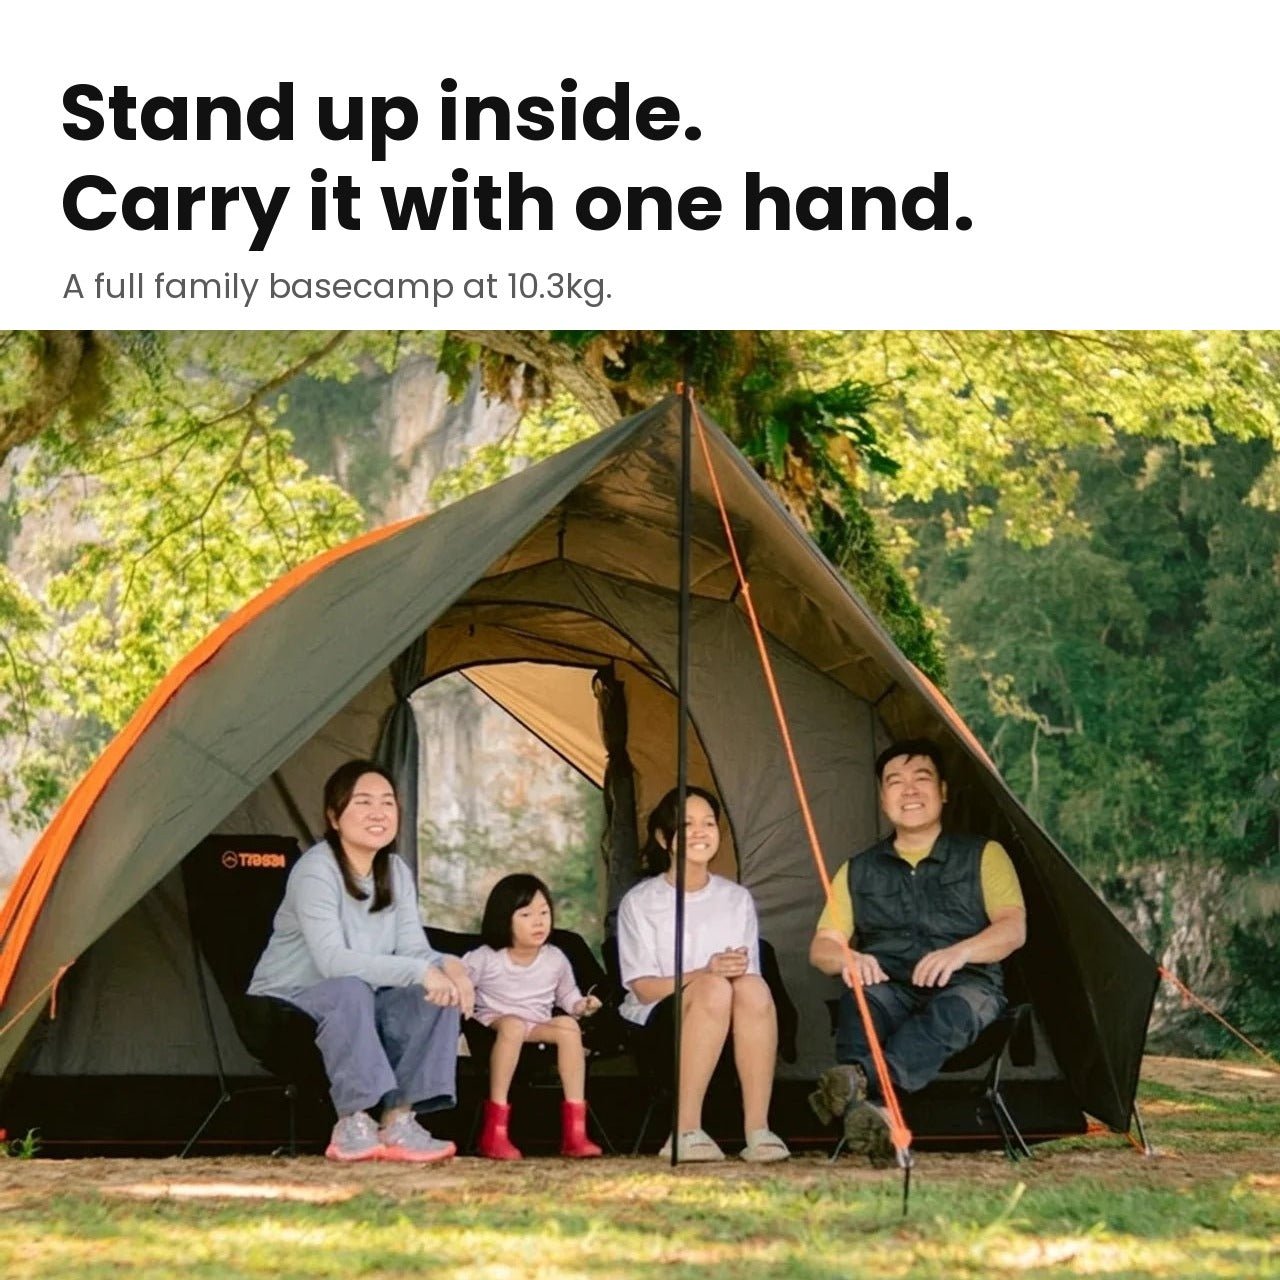
- Overnight gear (Chamang route / 2-day KKB): Lightweight tent or bivvy, sleeping bag rated for highland temps, camp stove.
FAQ
How hard is Gunung Rajah?
Extremely challenging — that's not marketing language, that's the honest rating. Near-vertical roped rock sections, river crossings with no dry option, 23–54 km of terrain depending on your route, and elevation gain hitting 2,074–2,530 m. This is not a suitable mountain for casual hikers or anyone without solid multi-hour hiking experience. Come fit, come prepared, come with a guide.
How long does Gunung Rajah take?
Route A (KKB): 12–14 hours round-trip for most groups. Route B (Chamang/Bentong): 13–22 hours — the range is wide because this route is very long and group fitness varies dramatically. The Chamang route is strongly recommended as a 2-day, 1-night hike rather than a single-day push. Night hiking sections are expected on both routes, so plan your start time accordingly (most groups start between 2am–5am).
Do I need a permit for Gunung Rajah?
Yes, on both routes. Pahang side (Chamang): apply to Jabatan Hutan Pahang at least 14 days in advance, RM 10 per person (2024 rate). Selangor side (KKB): apply to Pejabat Hutan Daerah Hulu Selangor and submit a copy to Kuala Kubu Bharu Police Station 24 hours before your hike, estimated RM 10 for locals. A guide is also compulsory on both sides — your permit office can help connect you with registered guides.
What's the best time of year to hike Gunung Rajah?
There are no active seasonal closures, but like most Malaysian highlands, the drier months (roughly March to October) give you better trail conditions and clearer summit views. Avoid the monsoon months (November to February) if you can — river crossings become significantly more dangerous when water levels are high, and the roped rock section is that much more treacherous when wet. That said, 'wet' is relative on a mountain with river crossings throughout — check conditions close to your date regardless of season.
Camp Nearby?
Making a weekend of it? If you're on the Bentong/Pahang side, Camp Mantap, Bentong is a solid base before or after the hike — close to the Chamang trailhead and worth checking out for a proper rest. Over in Janda Baik (a short drive from Bentong), both Woodstock Camp Janda Baik and Glamping Valley @ Janda Baik are good options if you want somewhere comfortable to recover after the mountain. An early night the day before a 3am start makes a real difference on a hike like Rajah — don't skip it.
Trail conditions, permit updates, and hiking buddies for the weekend — all in one WhatsApp group. Just ask; someone was probably up there last week.
💬 Join the Hiking CommunityFree, one click. No spam — the occasional promo at most.
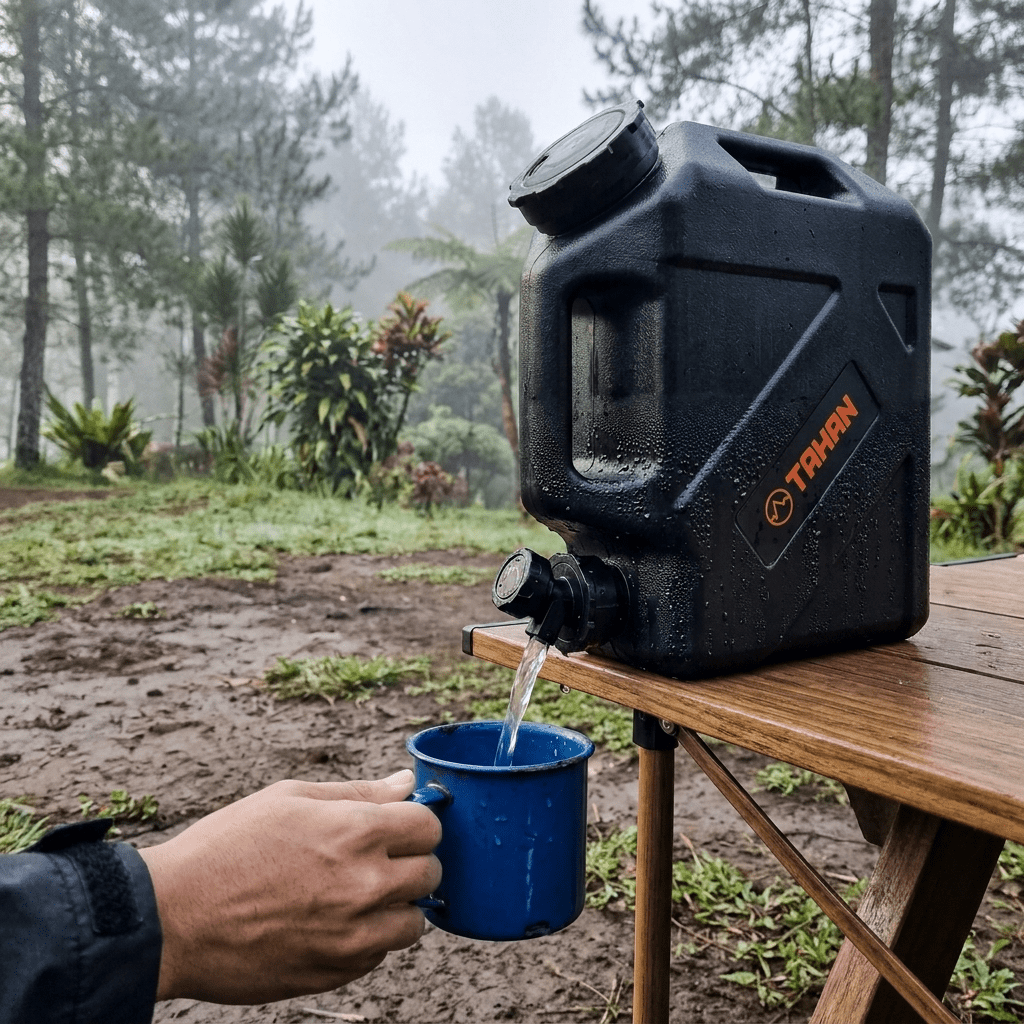
Gear tip: Water bladder or bottle on a humid trail.
Mike has been camping across Malaysia for over 10 years — from jungle treks in Taman Negara to beach camps in Perhentian. He writes about it so you don't have to find out the hard way. Follow along on TAHAN Outdoor's blog for honest campsite reviews, every week.
⛺ Featured in: The 10 Toughest Hikes in Peninsular Malaysia (2026)