
Bukit Taisho, Bahau: A Hiker's Guide (2026)
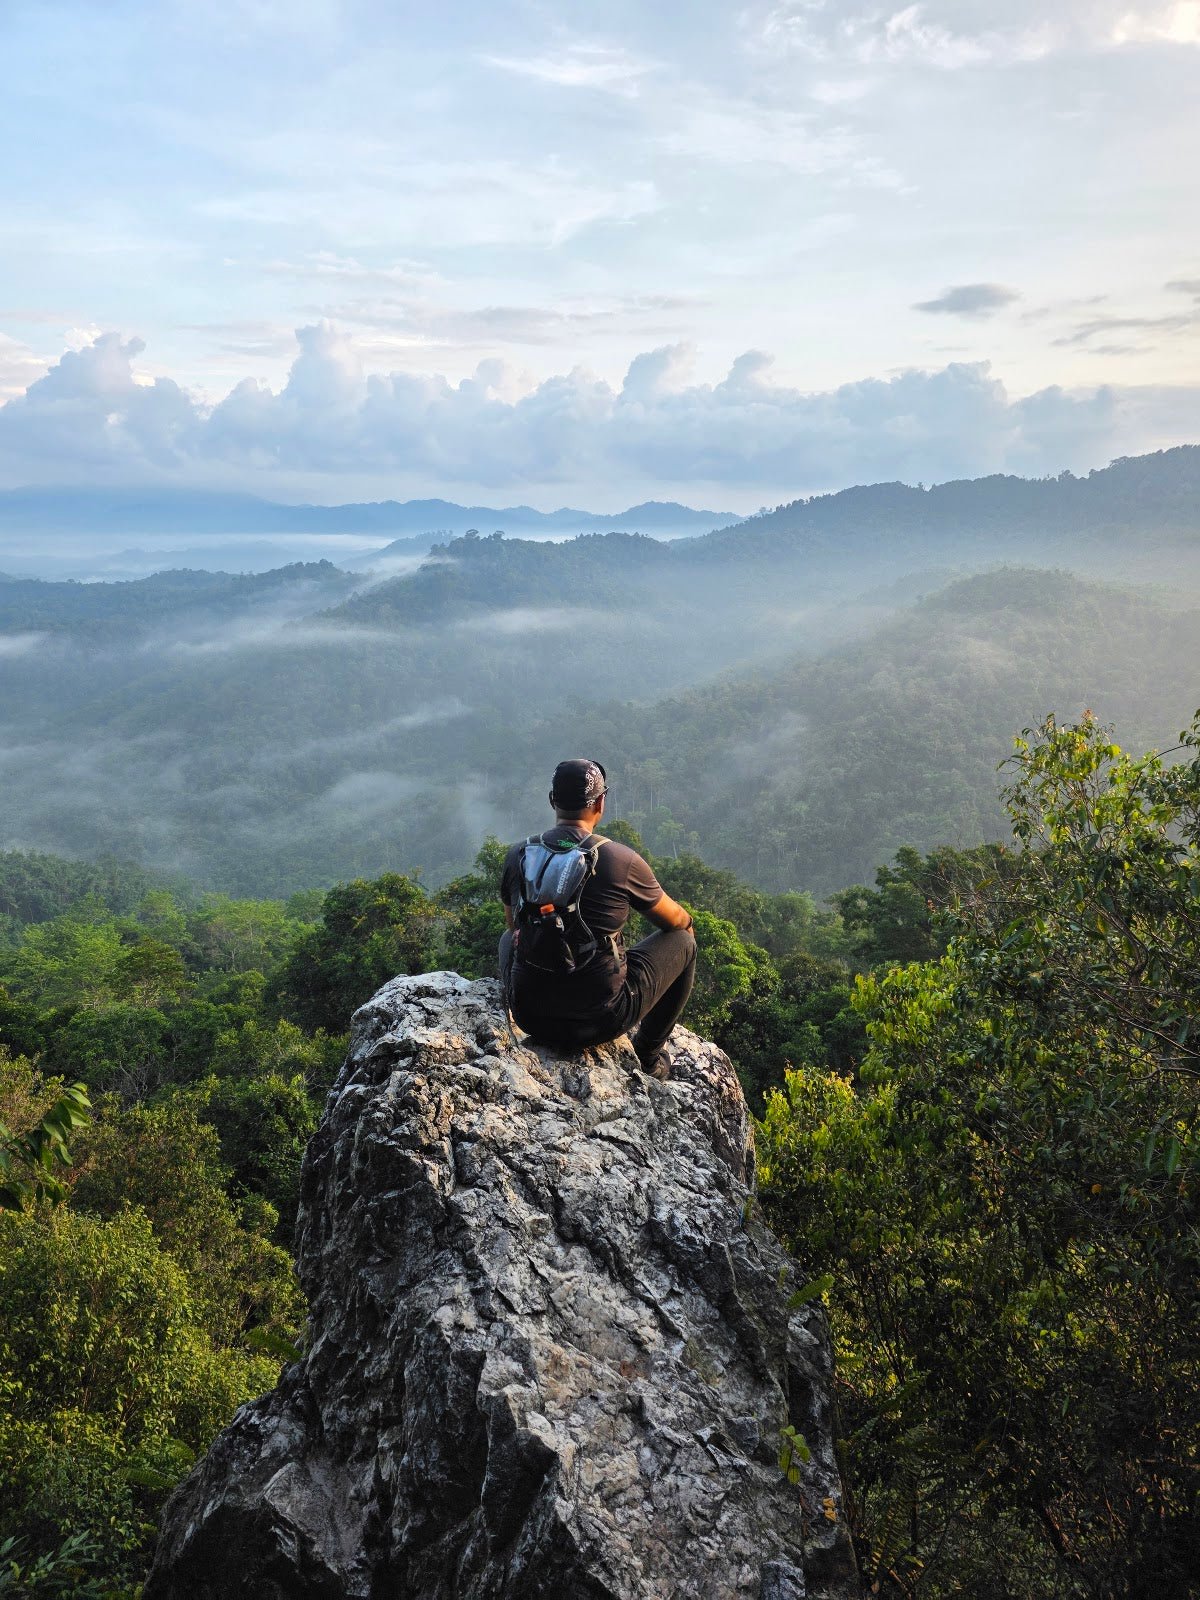
Bukit Taisho sits quietly in Bahau, Negeri Sembilan — a small hill that punches well above its weight when the conditions are right. At somewhere between 270 and 300 metres, it's not going to challenge your fitness much. What it will do is reward you with decorated lookout points, sweeping views across agricultural plains, and on the right morning, a proper sea of clouds that'll make your jaw drop. That's why hikers here call it the Sky Mirror.

This is genuinely beginner-friendly terrain — cement steps, marked trails, multiple rest benches, and mercifully, no leeches. Families bring their kids here. First-timers get their confidence here. But don't let that fool you into turning up at noon in the dry season — the exposed trail and Negeri Sembilan heat will punish anyone who shows up underprepared. The extended loop to Puncak Harimau and Puncak Naga adds more mileage and keeps things interesting for hikers who want more than a 30-minute stroll.
If you're based in KL and looking for a weekend half-day hike that's different from the usual Broga or Nuang circuit, Bukit Taisho is worth the roughly 2-hour drive. Go early. Go for clouds. Go before the heat kicks in.
Quick Facts
- Elevation: 270–300 m
- Elevation Gain: 157 m (515 ft) for standard out-and-back
- Distance: 2.6 km out-and-back (standard); extended loop options up to 10 km
- Duration: 30–45 minutes to summit; 1 hour for standard out-and-back; 3 hours for the extended loop
- Difficulty: Easy to moderately challenging — beginner-friendly, suitable for all ages
- Permit Required: No — no entrance fees, privately owned land
- Parking: Free, but limited
- Trailhead: Taman Meranti, Bahau, Negeri Sembilan
Getting There & Parking
The trailhead is in the Taman Meranti neighbourhood in Bahau town. From KL, you're looking at roughly 2 hours — take Route B22, which brings you about 15 km from Bahau town centre to the trailhead area. The Fo Guan Shan monastery at the base is a useful landmark.
Here's where people go wrong: do NOT rely on Google Maps or Waze to navigate you to the trailhead. Multiple hikers have reported both apps directing them to a Muslim cemetery entrance instead of the correct Taman Meranti primary entrance at Jalan Meranti 2. That's a significant wrong turn on an unfamiliar road. Look for Jalan Meranti 2 specifically, and use the monastery as your visual landmark.
Parking is free but limited. On weekends and public holidays, especially when cloud conditions look promising, this place fills up. Either arrive early (you should be anyway) or be prepared to park in the housing area at the base of the hill and walk in.
Permits & Fees
No permit required, no entrance fee. Bukit Taisho is privately owned land and is open to the public at no charge. Straightforward.
Trail conditions and permit requirements change — always check with the local forestry office or park authority before you go. Or ask the TAHAN Hiking Community on WhatsApp — someone's usually been there that week.
The Trail: What to Expect
The route is a mix of cement steps, stone pebble path, and some earthen trail through the oil palm section. It's well-marked throughout, with benches at regular intervals — genuinely useful ones, not just decorative. The extended loop links multiple peaks, so you can customise based on time and energy.

Stage 1: Taman Meranti Entrance
Start at the Jalan Meranti 2 entrance — not the cemetery gate. The opening section is straightforward and eases you in. Cement path underfoot, decent shade initially. Get your pace right here because the sun exposure gets worse as you gain elevation.
Stage 2: Oil Palm Plantation Section with Water Point
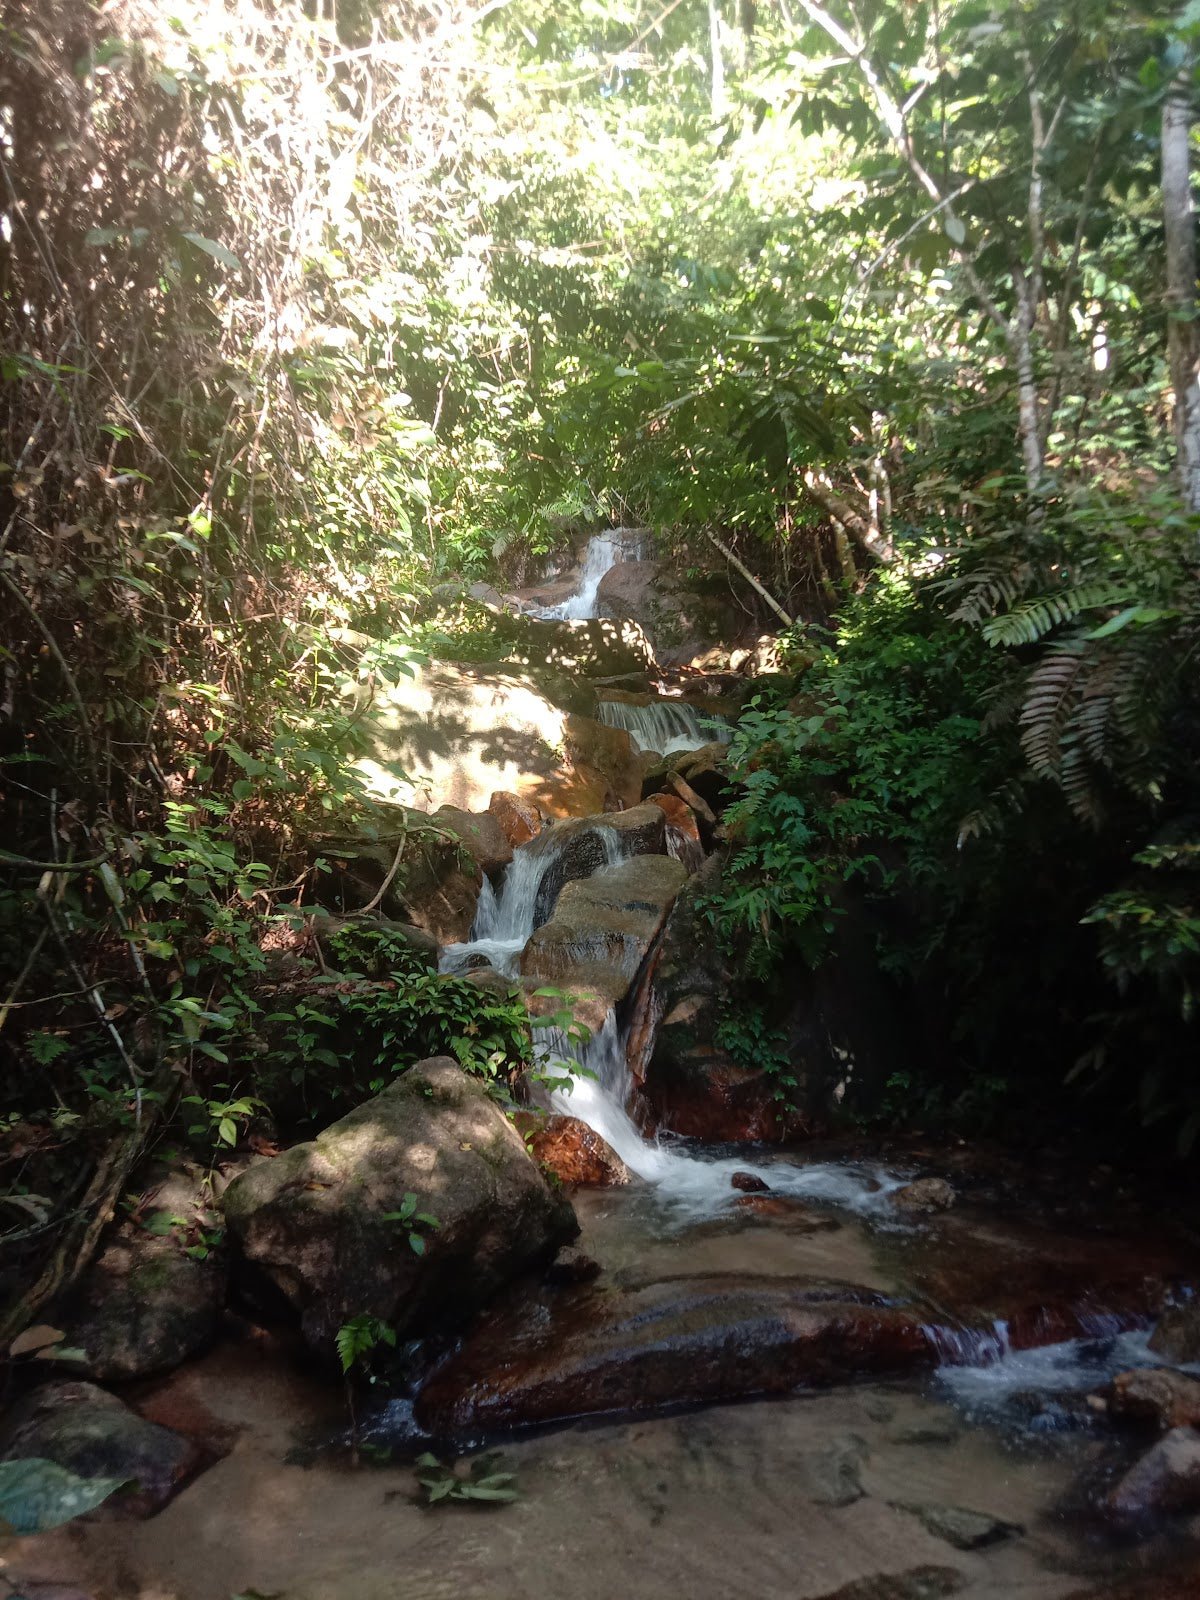
You'll pass through an oil palm plantation stretch where there's a water point along the trail. Historically, empty plastic bottles have been left here for hikers to carry water up — fill up if you're running low. This section has minimal shade, so if it's past 8am and already hot, slow down and hydrate properly. Steep and slippery sections start appearing here, particularly after rain.

Stage 3: Bukit Taisho (Sky Mirror) Main Peak
This is the main event. The summit area is genuinely lovely — decorated by locals with floral landscaping and ornamental structures at the lookout points. The views across the agricultural plains are wide and open. If you hit it after overnight rain, the sea of clouds effect is something else entirely. Come early for sunrise light; the photography here is excellent and there's a reason this place trends on Instagram.
Important safety note: there are no guardrails at the summit viewpoints. When you're getting the shot, watch your footing. People do get too close to the edge for photos. Don't be that person.

Stage 4: Puncak Harimau (Tiger Peak)
If you're continuing the loop, Puncak Harimau adds another peak to your collection. The trail continues to be manageable, though vegetation overgrowth on some sections can limit views — recent hikers note this is an ongoing issue on parts of the extended route. Keep expectations calibrated: the main Sky Mirror peak has the best views.
Stage 5: Taman Kayangan
A connecting section between the peaks on the extended loop. Rest benches here are welcome. If it's getting hot or your group is flagging, this is a reasonable point to assess whether you want to continue to Puncak Naga or head back.

Stage 6: Puncak Naga (Dragon Peak)
The furthest point on the extended loop. Views here are decent — worth it if you have the time and energy, especially for the different perspective on the surrounding landscape. Some recent hikers have taken the descent via a tar road section from around here, which reportedly brings you down in about 30 minutes. This is an option if your knees prefer a more gradual descent.
Stage 7: Return via Same or Alternative Routes
For the standard out-and-back, you retrace your steps. For the extended loop, the trail connects back to the base via alternative paths. There are refreshment stalls that may be present at or near the summit area — don't count on them being there, but it's a welcome bonus when they are.

Descent & Safety
Coming down is where most people get into trouble on hills like this. The steep sections that were manageable on the way up feel very different on tired legs on slippery ground.
Key hazards to know:
- Steep and slippery sections — especially during and after rain. The cement steps help, but earthen sections get genuinely hazardous.
- No shade on most of the trail — heat exposure is a real risk. Afternoon sun on exposed ground here is brutal. Start early.
- No guardrails at the summit — fall hazard when taking photos. Keep a safe distance from edges, especially if you're hiking with children.
- Muddy road sections during heavy rain — avoid hiking in storm conditions entirely. The trail access gets dangerous and the summit views will be zero.
- Navigation errors — do not follow Google Maps or Waze blindly; they direct to the wrong entrance. Plan your route before you go.
- Mosquitoes — not the only biting thing in Malaysia but worth bringing repellent. No leeches though, which is genuinely a selling point for this trail.
If weather turns stormy while you're on the trail, turn around. The summit is fully exposed and not a place you want to be in lightning. No view is worth that.
What to Bring
Short trail, but the sun exposure makes this feel harder than the numbers suggest. Don't turn up casual.
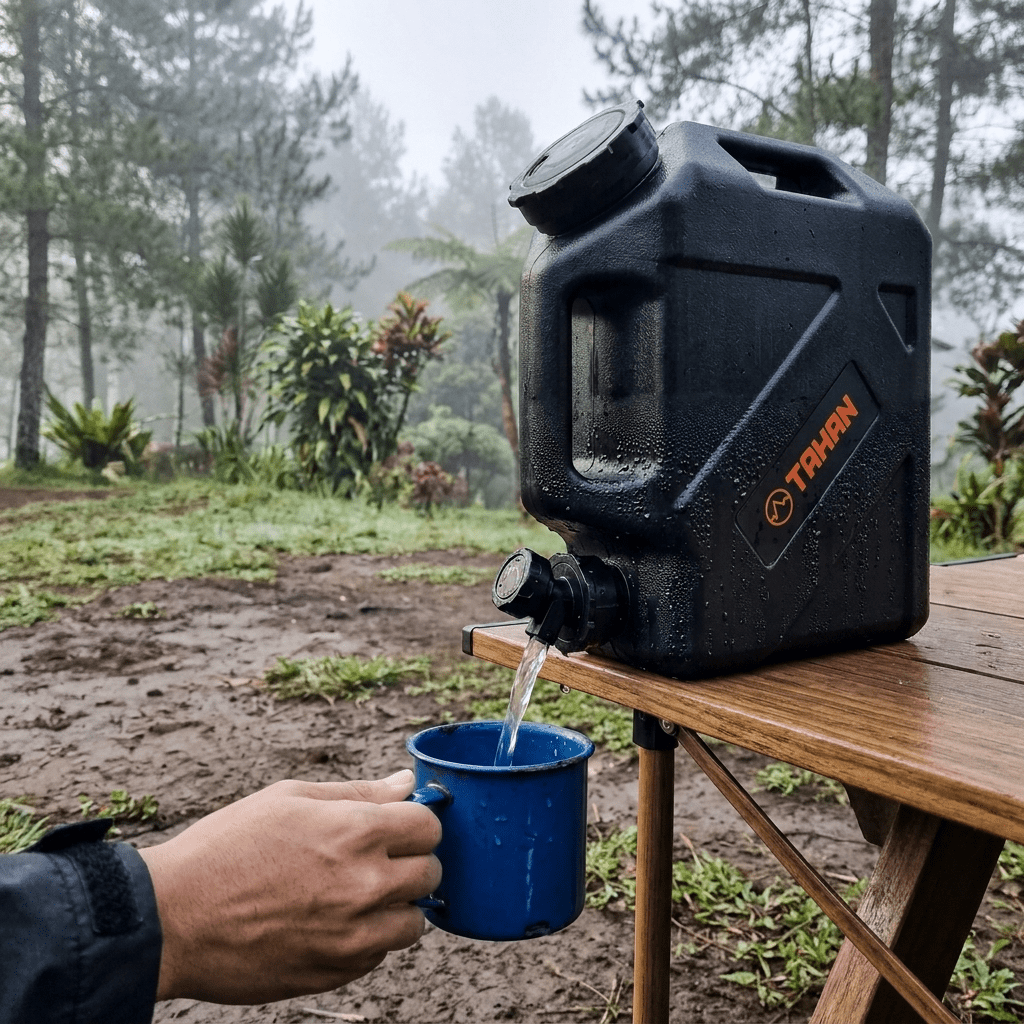
- Water — at minimum 1.5 litres per person for the standard route; more if you're doing the full loop or hiking after 8am. There's a water point on trail but treat it as a bonus, not a plan.
- Sun protection — hat, sunscreen, UV-protective shirt. The exposed trail will cook you.
- Footwear — trail shoes or hiking boots with grip. Cement steps are fine in dry conditions but wet steps are slippery. Sandals and flat sneakers are asking for trouble.
- Hiking poles — optional for the standard route, genuinely helpful for the extended loop and on descent. The TAHAN 3-Section Foldable Hiking Stick V2 folds compact enough that you won't mind carrying it when you don't need it, and it earns its keep on steep descents.
- Knee support — if your knees feel it on descents (steep steps are repetitive stress), the TAHAN Kinetix Knee Guard With Spring Support is worth bringing. Steep cement steps on the way down add up.
- Insect repellent — mosquitoes are present, especially in sheltered sections.
- Snacks — not critical for the short route but sensible for the extended loop.
- Camera or phone with full battery — you will want photos here. Bring a power bank.
For a broader breakdown of poles vs knee guards and when you need which, check out our hiking gear guide.
FAQ
How hard is Bukit Taisho?
Genuinely beginner-friendly for the standard out-and-back — cement steps, clear trail, benches throughout, no technical sections. Families with young kids hike it regularly. That said, the heat exposure and some steep sections push it toward moderate if you're going in the afternoon heat or tackling the full extended loop. Go early, wear proper footwear, and you'll be fine.
How long does Bukit Taisho take?
Most hikers reach the summit in 30–45 minutes from the trailhead. The standard out-and-back takes about 1 hour total. If you're doing the extended loop through Puncak Harimau, Taman Kayangan, and Puncak Naga, budget 3 hours.
Do I need a permit for Bukit Taisho?
No permit, no entrance fee. It's privately owned land open to the public. Just show up at the right entrance — Jalan Meranti 2 in Taman Meranti, not the cemetery gate.
What's the best time to hike Bukit Taisho?
Early morning, full stop. You avoid the heat, you catch potential sea of clouds views (best after overnight rain), and sunrise light over the agricultural plains is genuinely beautiful for photography. Late afternoon is the second option. Avoid hiking in the middle of the day or in stormy weather.
Camp Nearby?
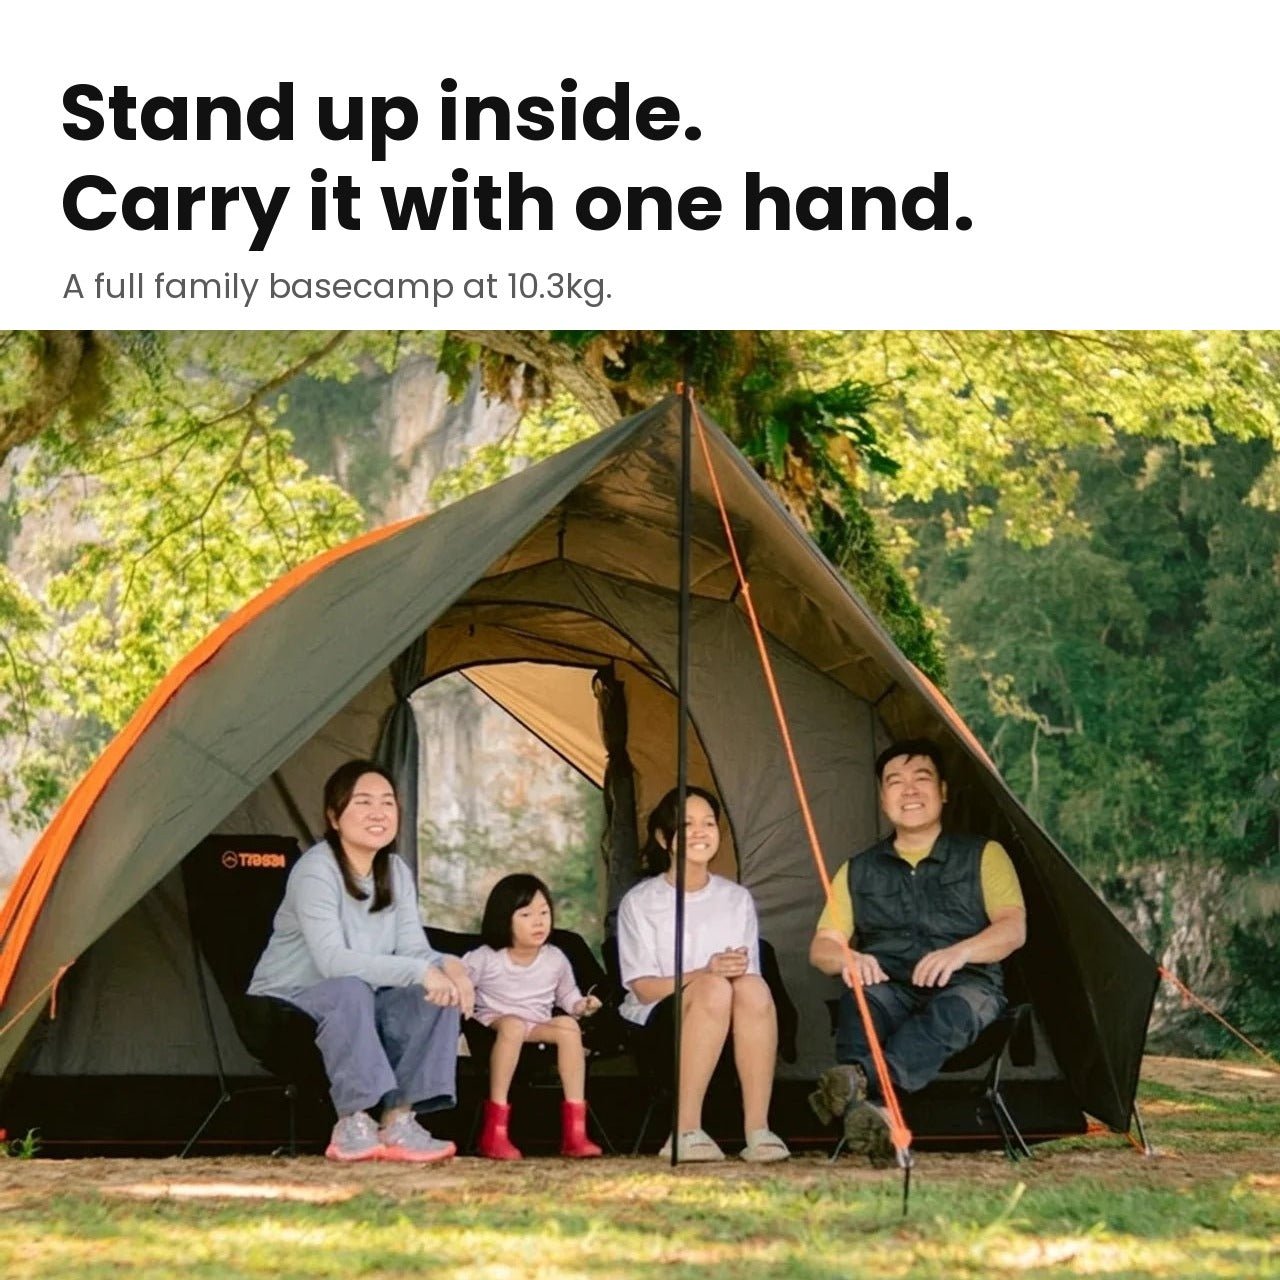
Making a weekend of it? Bahau itself is a quiet town, so most people who want a proper overnight base before an early start will look slightly further afield. De Star Glamping, Lenggeng is worth a look if you want something comfortable close to Negeri Sembilan. Laman Eden Campsite Farm and Homestay is a solid option if you want something with more of a farm stay feel. And if you're considering combining this with Broga Hill on the same weekend, Nature Haven Glamping, Broga puts you right in the area for both. Arriving the night before and hitting the trail at first light is always the move for cloud views anyway.
Trail conditions, permit updates, and hiking buddies for the weekend — all in one WhatsApp group. Just ask; someone was probably up there last week.
💬 Join the Hiking CommunityFree, one click. No spam — the occasional promo at most.
Gear tip: Water bladder or bottle on a humid trail.
Mike has been camping across Malaysia for over 10 years — from jungle treks in Taman Negara to beach camps in Perhentian. He writes about it so you don't have to find out the hard way. Follow along on TAHAN Outdoor's blog for honest campsite reviews, every week.