
Bukit Sapu Tangan: A Hiker's Guide (2026)
Bukit Sapu Tangan sits inside Shah Alam — which already makes it unusual. You're talking about a genuine jungle hill with leeches, stream crossings, and a summit tower, all within reach of the Klang Valley without driving hours into the interior. For KL and Selangor folks who want a proper sweat session on a weekend morning and still make it home for lunch, this one delivers.

The catch: "Bukit Sapu Tangan" is really several hikes wearing the same name. The simple summit run from Taman Botani is a 1.5-hour moderate climb. The Mirror Lake variant stretches to 3.5–4 hours with proper jungle terrain. The full comprehensive loop can take 5–5.5 hours with serious elevation gain. Know which route you're doing before you lace up — the difficulty gap between them is real.
This guide covers all the main variants. Pick your route based on your fitness level and how much time you have. Don't pick the hard one just because it sounds impressive, then bail halfway. That's how people get lost.
Quick Facts
- Summit elevation: 222 m
- Elevation gain: 367–792 m depending on route (1,204–2,598 ft)
- Distance: 4–6.4 miles depending on route (4 mi simple summit; 5.2 mi Mirror Lake; 5 mi Setia Alam route; 6.4 mi comprehensive loop)
- Duration: 1–1.5 hr (summit only); 2.5–3 hr (simple loop); 3.5–4 hr (Mirror Lake route); 5–5.5 hr (full loop)
- Difficulty: Moderate (simple summit) to Hard (Mirror Lake and Setia Alam variants)
- Permit: No permit required for most access — see Permits section for 2025 update
- Best time: Year-round; early morning recommended; avoid immediately after heavy rain
Getting There & Parking
There are two main entry points and they suit different routes.
Taman Botani Negara Shah Alam (primary trailhead): Address is Jalan Gunung Nuang U11/8, Bukit Bandaraya, 40170 Shah Alam (coordinates: 3.1007410, 101.4869701). Parking here costs RM5 per car, plus a RM3 conservation fee per person at the entrance. Note that the tarmac access road inside Taman Botani was reported as closed to public vehicles as of 2019 — the current status is unclear, so call ahead or check their latest updates before assuming you can drive all the way in.
Setia Alam alternative trailhead: Carpark along Jalan U13/23 (coordinates: 3.1213509, 101.4757179). Free parking but it's a small lot and fills up fast on weekends. Overflow parking along the roadside is common. This entry point suits the Setia Alam and Peak Garden routes.
Public transport to either trailhead is limited. Your realistic options are Grab, taxi, or driving yourself. If you're coming from central KL, budget extra time for Shah Alam traffic on weekend mornings — it can be annoyingly slow.

Permits & Fees
No permit is required for most access to Bukit Sapu Tangan — just the RM3 entry fee at Taman Botani if you're using that trailhead.
However: Selangor's forestry department (SeForest) launched a new permit system in April 2025 covering 52 mountains under JPNS jurisdiction. You can check it at forestry.selangor.gov.my/permit/home. Whether Bukit Sapu Tangan is included in this system is not confirmed at time of writing. Don't assume it's excluded just because it wasn't on the original list — the system is new and the list can change.
Trail conditions and permit requirements change — always check with the local forestry office or park authority before you go. Or ask the TAHAN Hiking Community on WhatsApp — someone's usually been there that week. Checking a different gunung? Try our free permit checker — instant answer for 90+ Malaysian mountains.
The Trail: What to Expect
The terrain changes significantly as you climb. The early sections are well-maintained tarred path. Once you hit the jungle, the gloves come off — roots, rocks, fallen branches, and mud. Here's how it unfolds stage by stage.
Stage 1: Taman Botani Parking Lot / Puncak Seni Entrance
Start at the Taman Botani main entrance or Puncak Seni entry point. Get your admin sorted here — pay fees, check your water, and adjust your pack. The initial section is tarmac, which feels easy but don't be fooled into going out too fast.

Stage 2: Puncak Seni (Tarred Path Section)
The tarred road section winds uphill past Puncak Seni. It's steep in places but straightforward — good for warming up your legs. Enjoy it while it lasts. Hikers have noted the inclines on this section are already quite serious near the peak. Pace yourself.
Stage 3: Transition to Jungle Trail
This is where the hike becomes a proper jungle experience. The trail narrows and the surface changes to dirt, roots, and rocks. Footing requires attention. You'll start noticing the canopy closing in above you — along with the leeches making their acquaintance. Tuck your socks over your pants legs and consider leech socks if you have them.
Stage 4: Station A, B1, B Resting Stations
These marked resting stations are useful reference points and places to catch your breath. The trail between them gets progressively rougher. Narrow rugged terrain, thorny palms on either side of the path, and the odd fallen tree across the route — this is normal. Step over, not around.

Stage 5: Brook Through Rock Garden
Depending on your route, you'll cross a stream here. On some variants, expect to get your feet wet — there's no avoiding it. Wear trail shoes with decent grip, not kasut biasa. The Rock Garden section is interesting terrain but slippery when wet. Take your time.
Stage 6: Muddy and Slippery Slopes with Fallen Trees
This is the honest warning section. The slopes approaching the summit involve the steepest and most slippery terrain on the trail, especially after any rain. Fallen trees across the path are common. This section separates the hikers who prepared from those who didn't. Trekking poles genuinely help here — the TAHAN 3-Section Foldable Hiking Stick V2 packs down small enough that there's no excuse not to carry one on a route like this.
Stage 7: Bukit Sapu Tangan Summit / Tower
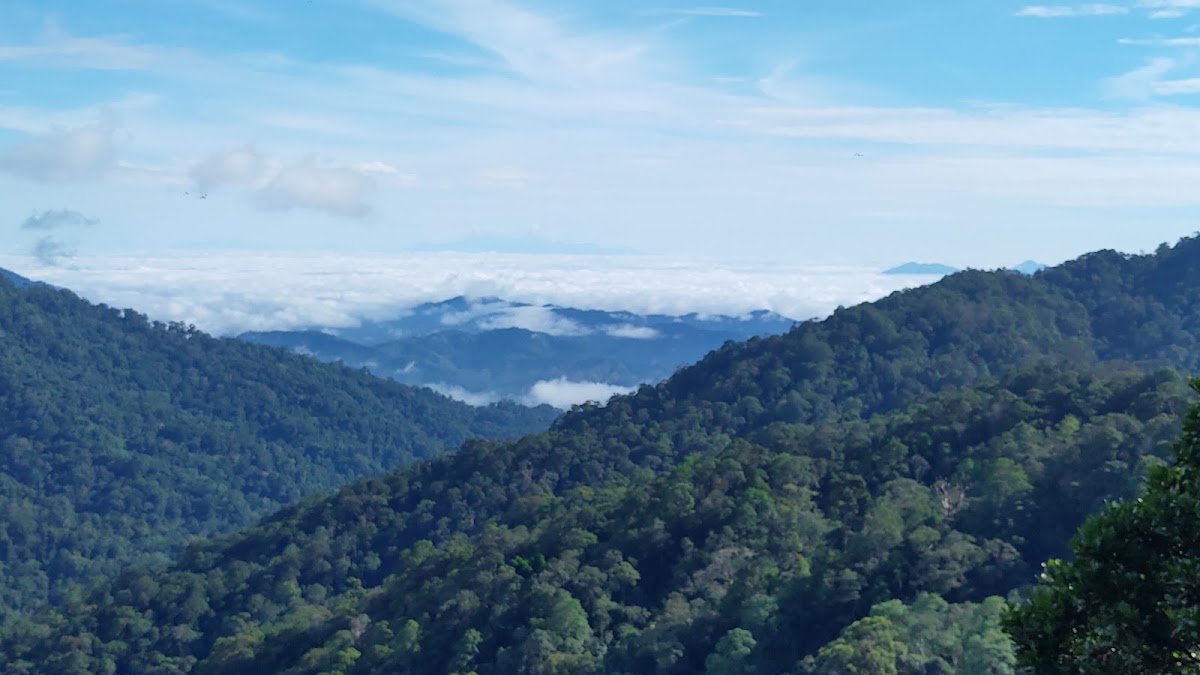
The tower at the top earns its reputation. Panoramic views of surrounding hills and valleys, a proper bird's-eye perspective over Shah Alam, and on a clear morning, the kind of view that makes the muddy slog feel worth it. It's also a solid bird-watching spot — hornbills and kingfishers have been spotted in the area. Take your photos, have your snack, then decide which way down (or which variant to continue).

Stage 8: Mirror Lake (Mirror Lake Variant)
If you're taking the Mirror Lake route, this is what you came for. The lake is genuinely picturesque — calm water, jungle backdrop, and diverse birdlife including sunbirds and kingfishers. Early morning gives you the best reflections. The trail to reach it is more demanding than the simple summit route, so factor in the extra time and effort (3.5–4 hours total for this variant). There are reportedly seven lakes discoverable across the various routes in this area — Mirror Lake is the standout.
Stage 9 & 10: Peak Garden and Tasik Bukit Raja (Comprehensive Loop Only)
If you're doing the full 6.4-mile comprehensive loop, Peak Garden and Tasik Bukit Raja extend the adventure significantly. This is a 5–5.5 hour commitment with the most serious elevation gain (up to 792 m cumulative). The Setia Alam carpark on Jalan U13/23 connects into this loop. Only attempt this if your group is fit, well-supplied, and has a solid start time — aim to be on trail before 7am.

Descent & Safety
Coming down Bukit Sapu Tangan is where most people run into trouble. The steep sections near the summit that were manageable going up become genuinely sketchy on the descent, especially if the trail has gotten wet or you're fatigued. Slow down. This isn't the time to make up time.
Hikers who've done this route consistently flag downhill sections as the hardest part — and that's on a dry day. If you've got dodgy knees, the descent on the longer routes is significant. A knee guard with proper support — like the TAHAN Kinetix Knee Guard With Spring Support — can make a real difference on routes with this much cumulative descent.
Hazards summary — take these seriously:
- Leeches and thorny palms — present throughout the jungle sections, not just occasionally
- Steep and slippery slopes — especially after rain; the risk here is a fall, not just mild discomfort
- Monkeys and wild boars — monkeys in particular can be aggressive; don't feed them, don't approach them, secure your food
- Narrow rugged terrain — rocks, roots, and fallen branches throughout; ankle injuries are common on inattentive descents
- Stream crossings — required on some routes; water levels rise fast after rain
Turn back if: skies open up mid-hike and the trail becomes slick, visibility drops, or anyone in your group is struggling before the halfway point. There is no shame in turning around. The hill will still be there next weekend.
What to Bring
This isn't a stroll in the park — even the moderate route involves real jungle terrain. Pack accordingly.
- Water: Minimum 1.5L for the short route, 2–3L for longer variants. There are stream crossings but don't count on drinking from them untreated
- Food and snacks: Energy bars, bananas, whatever keeps you going. The full loop is 5+ hours
- Trail shoes or hiking boots: Proper grip is non-negotiable on the muddy slopes. Running shoes work okay on dry days; after rain, you want something with real traction
- Trekking poles: Strongly recommended for the steep sections and stream crossings — see our hiking gear guide for what to look for
- Leech socks or long socks: Don't skip this
- Rain jacket or poncho: Weather in Selangor can turn fast
- First aid basics: Blister plasters, antiseptic, and something for leech bites
- Fully charged phone: Offline maps (Maps.me or AllTrails) downloaded before you go. Mobile signal is inconsistent in the jungle sections
- Start early: On trail before 7am for longer routes. Afternoon heat and afternoon thunderstorms are both real problems
FAQ
How hard is Bukit Sapu Tangan?
It depends entirely on which route you take. The simple summit from Taman Botani is Moderate — steep in parts but manageable for reasonably fit hikers. The Mirror Lake and Setia Alam variants are rated Challenging to Hard, with serious elevation gain and proper jungle terrain. Don't pick your route based on what sounds fun — pick it based on what your fitness level actually supports.
How long does Bukit Sapu Tangan take?
Anywhere from 1–1.5 hours for the simple summit only, up to 5–5.5 hours for the full comprehensive loop. The Mirror Lake route typically takes 3.5–4 hours. Most casual hikers doing a simple loop report 2.5–3 hours. Build in buffer time — the trail is slower than it looks on paper.
Do I need a permit for Bukit Sapu Tangan?
No permit is required for most access at the time of writing. However, Selangor's SeForest permit system launched in April 2025 and covers 52 mountains in the state — it's not confirmed whether Bukit Sapu Tangan is included. Check forestry.selangor.gov.my/permit/home before your trip, and always verify with the local forestry office if you're unsure. Step-by-step application guide: how to apply on SeForest.
Is Bukit Sapu Tangan suitable for beginners or kids?
The simple summit route on a dry day is manageable for fit beginners. Some hikers have brought kids on the shorter routes without issue. That said, the jungle sections involve real hazards — leeches, uneven terrain, and steep slopes. Be honest about your group's fitness and experience before committing to anything beyond the basic summit. The longer routes are not beginner-friendly.
Camp Nearby?
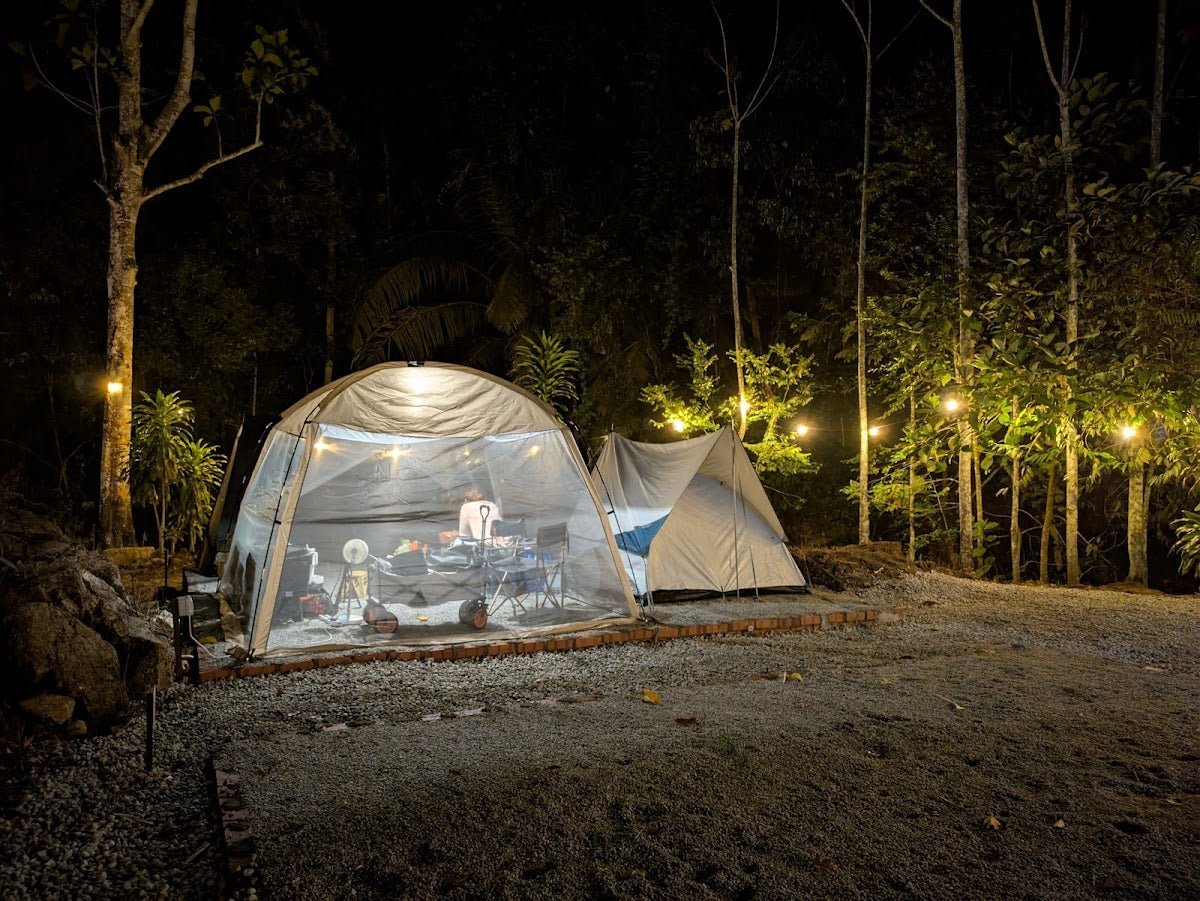
Making a weekend of it? Bukit Sapu Tangan is a day hike rather than an overnight trail, but there are good campsite options nearby in Selangor if you want to pair it with a night under the stars. Check out our reviews of Templer Park Rainforest Retreat for a lush jungle camp experience close to Shah Alam, Mori Leka Campsite, Serendah for something a bit further north but worth the drive, and Nature Escape Campsite, Hulu Langat if you're open to crossing toward the Hulu Langat side after your hike. Camp the night before, start early, and you'll be on trail before most people are awake.
Trail conditions, permit updates, and hiking buddies for the weekend — all in one WhatsApp group. Just ask; someone was probably up there last week.
💬 Join the Hiking CommunityFree, one click. No spam — the occasional promo at most.
Gear tip: How to use a trekking pole (and set the height).
Mike has been camping across Malaysia for over 10 years — from jungle treks in Taman Negara to beach camps in Perhentian. He writes about it so you don't have to find out the hard way. Follow along on TAHAN Outdoor's blog for honest campsite reviews, every week.