
Bukit Keteri, Perlis: A Hiker's Guide (2026)
Bukit Keteri is one of those places that looks impossible from the road — a dramatic limestone tower shooting straight up out of a flat sea of padi fields near Kangar. It's striking in a way that makes you slow down when you're driving past. And yes, you can climb it.

This is not a mountain in the traditional sense. At 131m, it's small. The hiking trail itself is rated easy, and the approach from the road takes about 15 minutes through rice paddies. But don't let that fool you into thinking it's a casual stroll — there are rope sections, near-vertical ladders, and cave systems with ancient wall paintings. Bukit Keteri suits hikers who want something different: less jungle slog, more limestone adventure with genuine wow-factor views. It's also a legitimate climbing destination with around 50 rock climbing routes serious enough to host international competition-level climbers.
For families, casual hikers, and photographers, the base and lower sections are accessible and rewarding. For those who want the full summit experience with the cave and ladder sections, be honest with yourself about your fitness and comfort on exposed terrain. The rock climbing routes are a completely separate beast — very difficult, and not what this guide is about.
Quick Facts
- Elevation: 131m
- Distance: 0.5 miles (trailhead to summit)
- Duration: 12 minutes (base approach) to several hours (full summit and cave exploration)
- Difficulty: Easy (hiking trail); Very Difficult (rock climbing routes — separate activity)
- Permit: Check with the local forestry office or park authority for the latest
- Guide Required: Not required for hiking
- Best Time: April to September (dry season); early morning or sunset for views
Getting There & Parking
Bukit Keteri is about 10km from Kangar town. From Kangar, take Road 7 heading towards Padang Besar. After roughly 7km, turn right at Beseri at the T-junction with traffic lights — head towards Mata Ayer. After 2km, at the next T-junction, turn left towards Padang Besar. About 300m after that turn, you'll see the crag appearing on your right side, rising out of the padi fields with a mosque across the road. You genuinely cannot miss it.
Park at the Bukit Keteri Market carpark nearby. It's a straightforward spot — nothing fancy, but it does the job. From the carpark, the trailhead and approach path through the fields is a short walk away.

Permits & Fees
No permit is listed as required for the hiking trail. Rock climbing is a different matter — guided climbing packages are available through a few local operators. Aqua Perlis and Perlis Climbers offer guided climbs at RM60 per person (contact Puan Anis at 013-5993269). Pretty World Resources also runs private rock climbing, caving, and zip-line tours if you want an organised experience.
Trail conditions and permit requirements change — always check with the local forestry office or park authority before you go. Or ask the TAHAN Hiking Community on WhatsApp — someone's usually been there that week. Checking a different gunung? Try our free permit checker — instant answer for 90+ Malaysian mountains.
The Trail: What to Expect
Bukit Keteri is compact but has real variety packed into it. The route stages move quickly from flat paddy field walking to technical scrambling — don't expect a long leisurely trail. This thing gets steep fast.

Stage 1: Approach Through the Padi Fields
The 15-minute walk from the carpark to the base of the crag cuts through rice paddies with the limestone tower growing larger in front of you the whole way. It's flat, it's scenic, and on a clear morning with mist hanging over the fields, it's genuinely beautiful. This section alone is worth the trip for photographers. The path is straightforward — just follow the trail towards the rock face.
Stage 2: Base and Limestone Rock Face
Once you reach the base, the terrain changes immediately. You're now on limestone — uneven, grippy in dry conditions but slippery when wet. This is the start of the scrambling section. Footing needs your full attention here. Wear actual hiking shoes; sandals or casual trainers are asking for trouble on this surface.
Stage 3: Rope Climbs and Aluminum Ladders
This is the section people either love or nope out of — and both reactions are valid. There are rope climb sections on approximately 60-degree slopes, and aluminum ladders propped against what is essentially a near-vertical wall. The ladders are described as rickety. Take that seriously. Move one person at a time, keep three points of contact, and do not rush. This is the crux of the hike. If you're not comfortable on exposed, vertical terrain, turn back here — there is no shame in it, and the views from the lower sections are still excellent.

Stage 4: Cave System with Ancient Paintings
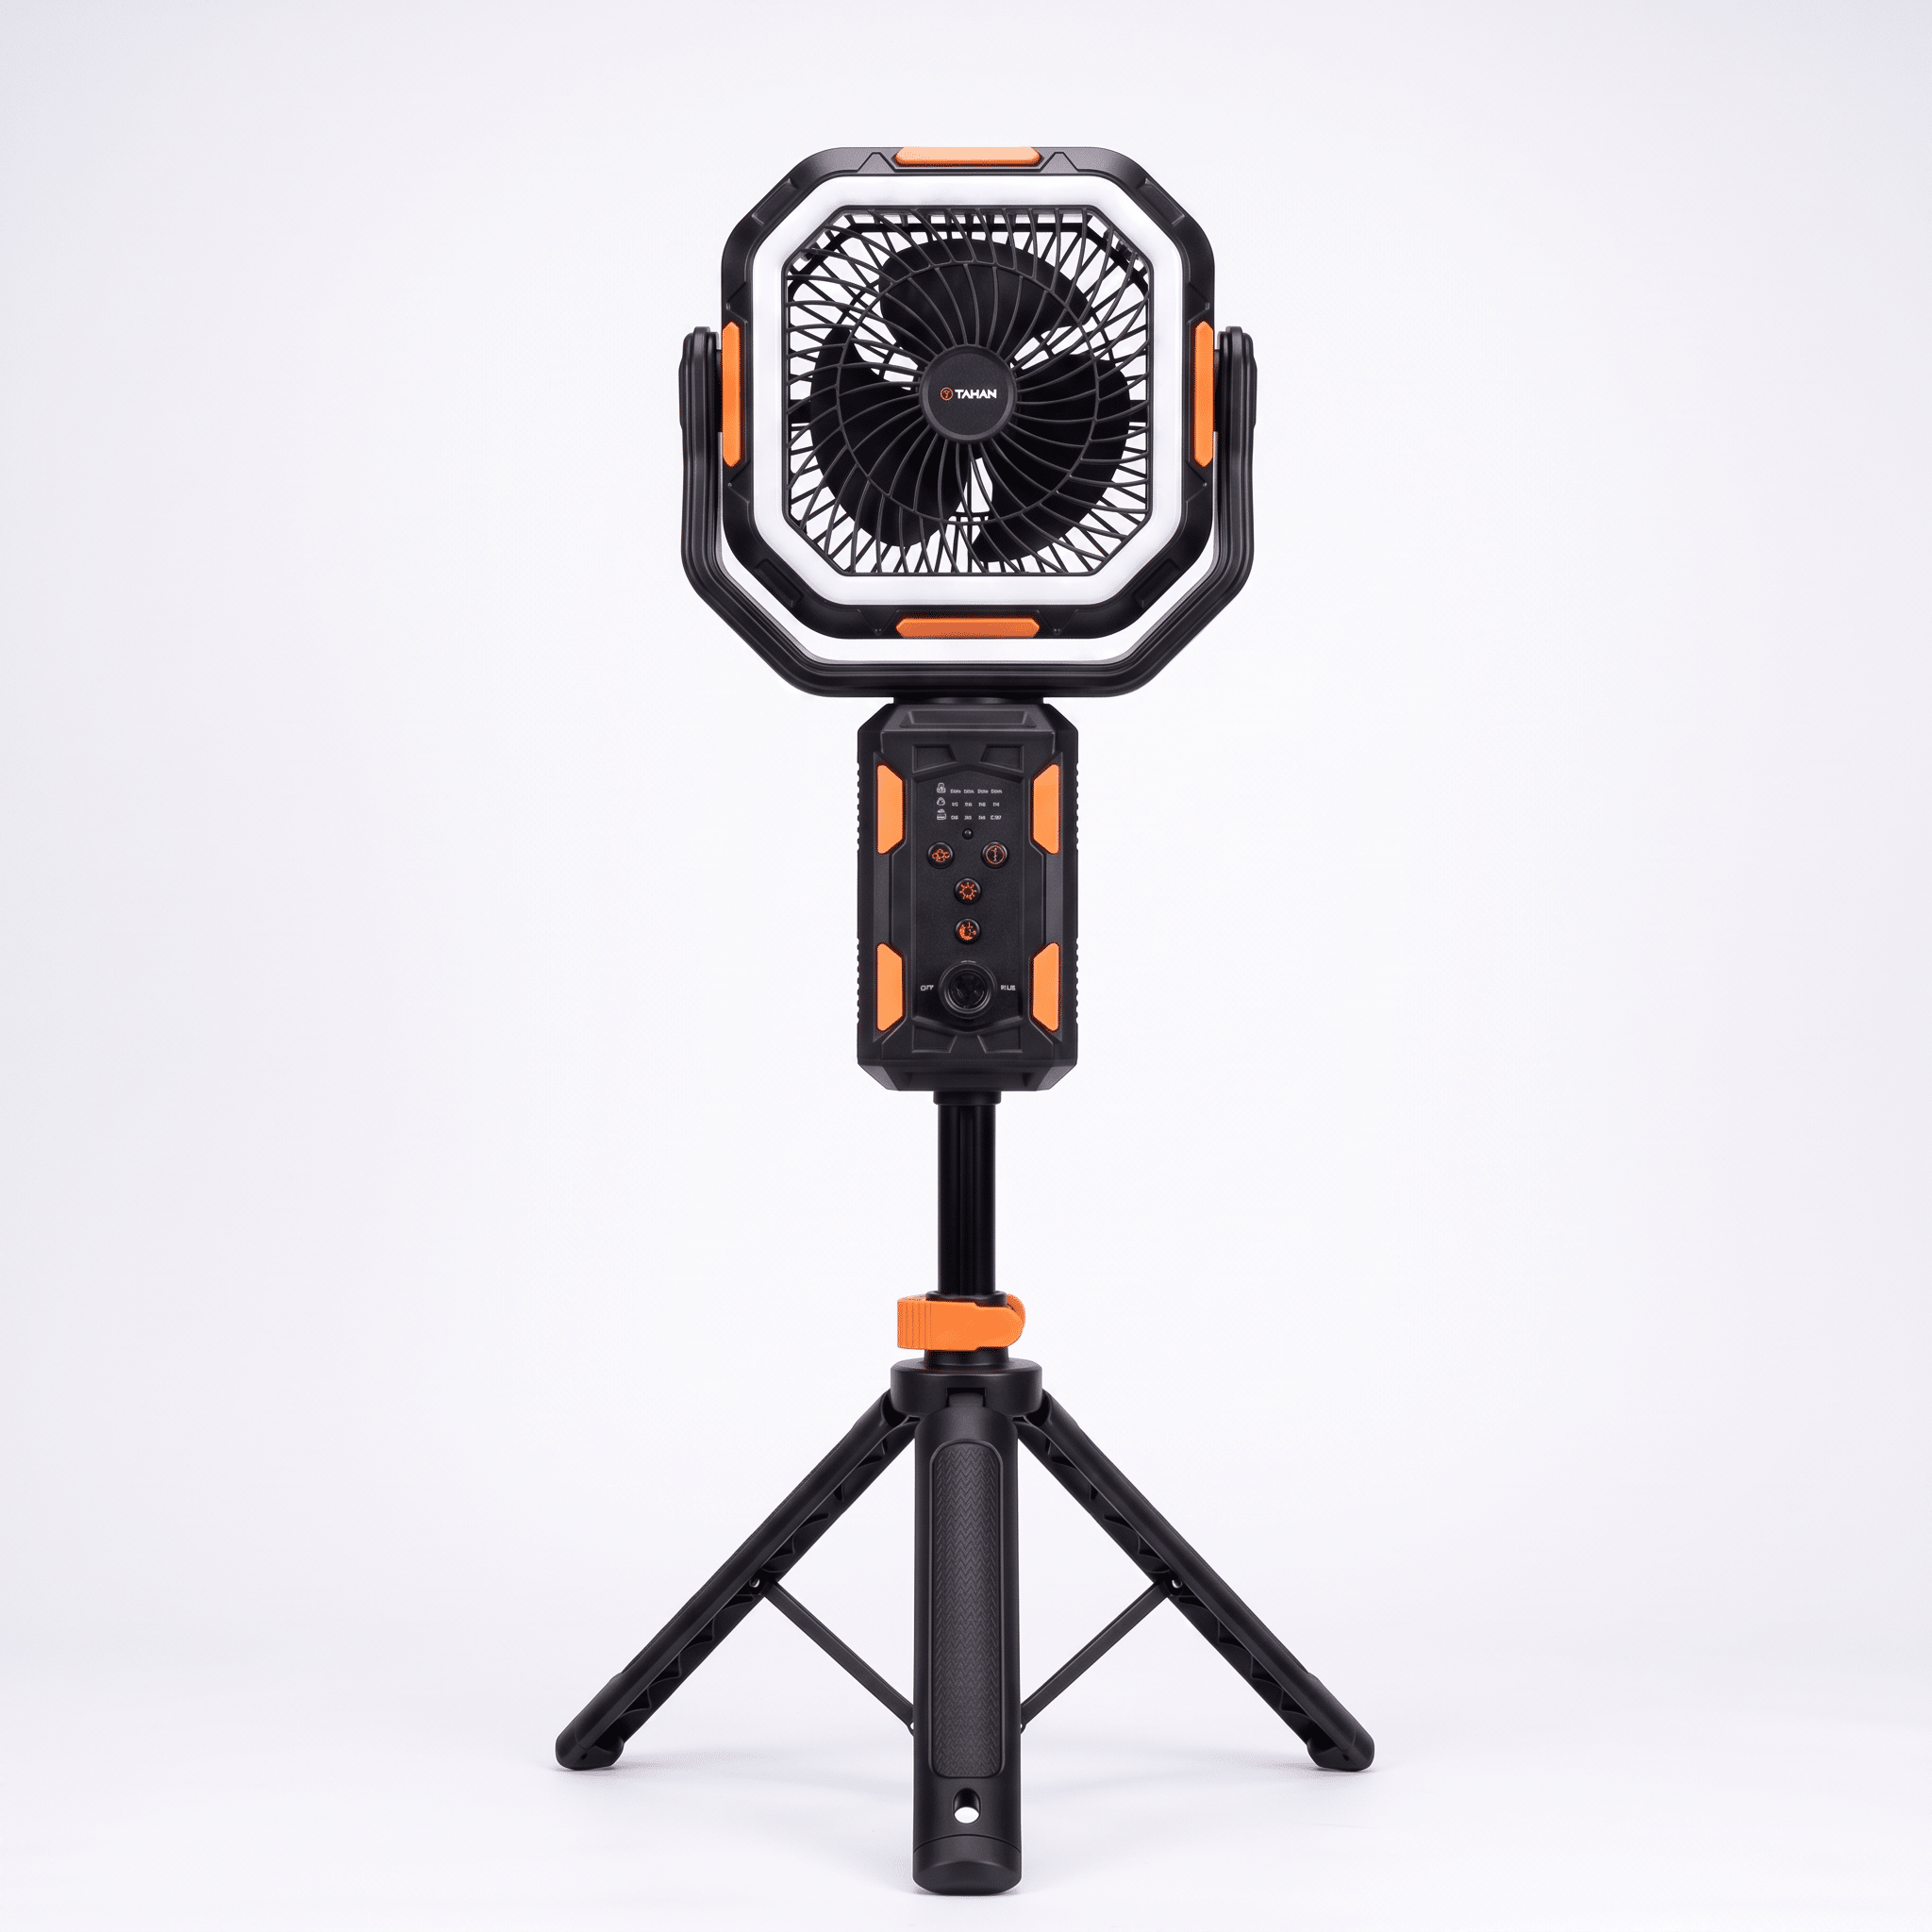
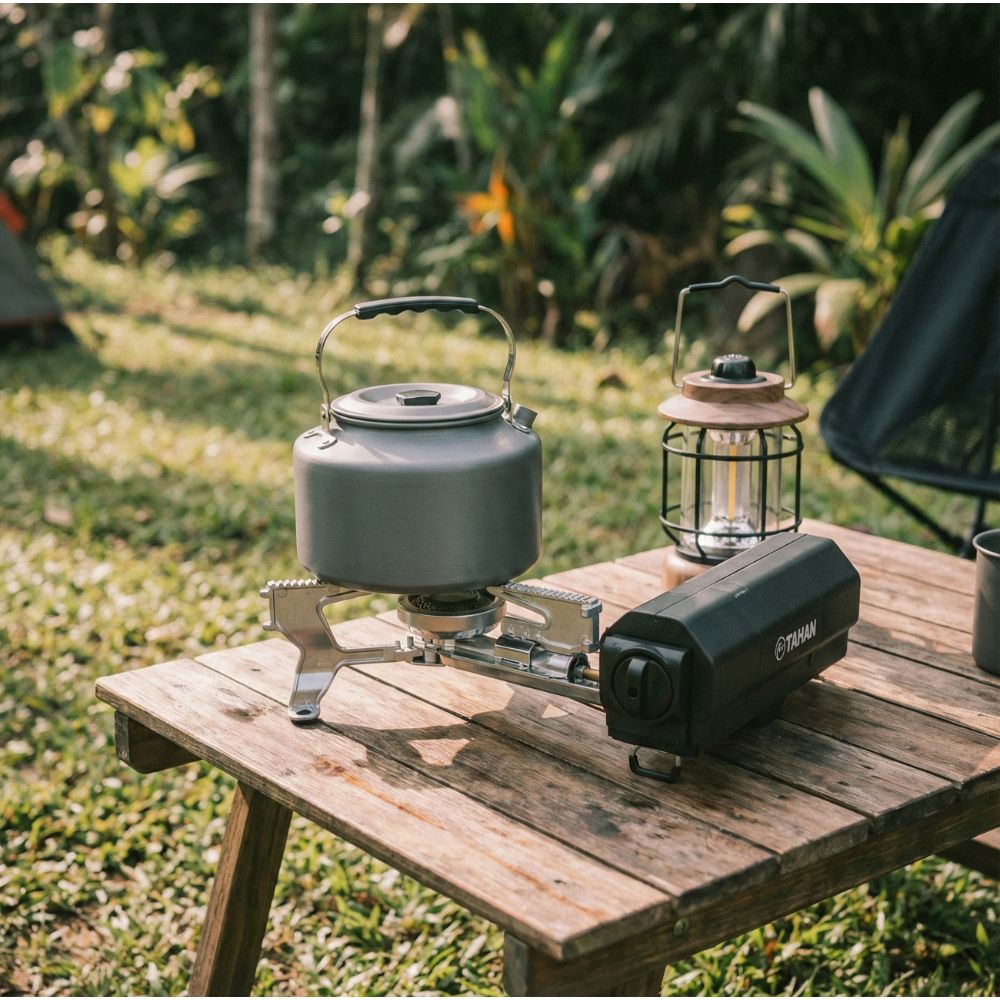
Inside the limestone is a cave system worth exploring. The largest chamber is reportedly large enough to fit a jumbo jet — that gives you a sense of the scale. More significantly, the cave walls carry ancient paintings. Bring a light source; a phone torch will do for basic navigation but a proper lantern makes a difference in there. The TAHAN Luminate Multifunction Lantern works well for exactly this kind of situation — bright enough to see the cave walls clearly and compact enough not to be a hassle to carry up.
Stage 5: Summit
The summit delivers panoramic views of the surrounding countryside — flat Perlis stretching out in every direction, padi fields, the distant hills of the Thai border. Sunrise and sunset up here are special. The colours — orange, pink, purple — hit different when you're standing on top of a limestone tower surrounded by nothing but rice paddies below.
There is also a WWII Japanese pillbox and a commemorative plaque on the hill — a reminder that this crag has history beyond the climbing routes.

Alternative: Northern Side Route
A northern side route exists as an alternative way up or down. Conditions on this route — check locally before committing to it as your descent path.
Descent & Safety
The way down the rope and ladder sections deserves more respect than the way up. Tired legs on rickety aluminium ladders and fixed ropes is where accidents happen. Take your time. The terrain that felt manageable going up can feel very different when you're descending and your forearms are pumped.
Key hazards to know before you go:
- Rope and ladder sections: The 60-degree rope climbs and near-vertical aluminum ladders are the serious technical sections. Not suitable for anyone uncomfortable with exposed climbing.
- Terrain: Limestone is uneven. Sturdy hiking shoes are not optional — they're necessary.
- Evening timing: Do not still be on the upper sections when it gets dark. Descent without a light source on this terrain is genuinely dangerous. Plan to be off the summit well before sunset unless you have proper lighting and know what you're doing.
- Monkeys: Playful ones. Keep food secured and don't feed them — this creates problems for every hiker after you.
- Wet rock: Limestone when wet is a different surface entirely. If it's been raining, reconsider the upper sections.
If the weather turns bad, come down. The views are not worth a slip on wet limestone with a rope ladder between you and the ground.

What to Bring
Bukit Keteri is short but the technical sections and cave exploration mean your kit still matters:
- Water: No water sources on trail. Guides recommend a 2L hydration bladder or a 1.5L water bottle plus a 500ml small bottle. The TAHAN TrailBladder 2L Water Bladder fits this perfectly and keeps your hands free for the rope sections.
- Footwear: Sturdy hiking shoes with grip. Non-negotiable on this terrain.
- Light source: Essential for cave exploration and critical if your timing runs late — phone torch minimum, proper lantern better.
- Snacks: It's a short hike but the technical sections burn more energy than the distance suggests.
- Sun protection: The approach across open padi fields has zero shade. Hat, sunscreen, the works — especially if you're going for sunrise or sunset when the approach is in full sun.
- Gloves: Optional but useful for the rope sections if your hands don't love friction on rough rope.
For a more complete look at what gear suits Malaysian hiking conditions, check out our hiking gear guide.
FAQ
How hard is Bukit Keteri?
The hiking trail is rated easy overall, but that rating applies to the lower sections. The rope climbs and near-vertical aluminum ladders in the upper section are a genuine challenge — 60-degree slopes and exposed positions. If you're comfortable scrambling and don't mind heights, you'll be fine. If you're not, the lower sections and cave entrance area still reward the trip.
How long does Bukit Keteri take?
Anywhere from 12 minutes (the approach walk to the base) to several hours if you're doing the full route — summit, cave system, back down. Most people doing the complete hike including cave exploration should budget 2-3 hours comfortably. Don't rush the descent.
Do I need a permit or guide for Bukit Keteri?
A guide is not required for the hiking trail. For rock climbing, local operators including Perlis Climbers offer guided sessions at RM60 per person (contact Puan Anis at 013-5993269). As for any permit requirements, check with the local authority before your visit as this can change.
What is the best time to visit Bukit Keteri?
The dry season from April to September gives the most pleasant conditions. For the views specifically, early morning gets you cooler temperatures and potential sunrise colours; late afternoon gets you the sunset panorama. Avoid being on the upper sections after dark — the descent is not safe without proper lighting.
Camp Nearby?
Making a weekend of it? Perlis has some decent options for camping around the area. Wanza Indah Permai (Kem Wanza) is worth checking out, as is Hujan-Hujan Campsite at Gua Kelam — Gua Kelam itself is worth a visit while you're up in Perlis. The Wheel Estate Campsite, Perlis is another option in the state. Staying overnight nearby means you can hit the trailhead at first light for the sunrise — the best time to be on that summit.
Trail conditions, permit updates, and hiking buddies for the weekend — all in one WhatsApp group. Just ask; someone was probably up there last week.
💬 Join the Hiking CommunityFree, one click. No spam — the occasional promo at most.
Gear tip: Water bladder or bottle on a humid trail.
Mike has been camping across Malaysia for over 10 years — from jungle treks in Taman Negara to beach camps in Perhentian. He writes about it so you don't have to find out the hard way. Follow along on TAHAN Outdoor's blog for honest campsite reviews, every week.