
Gunung Baling: A Hiker's Guide (2026)
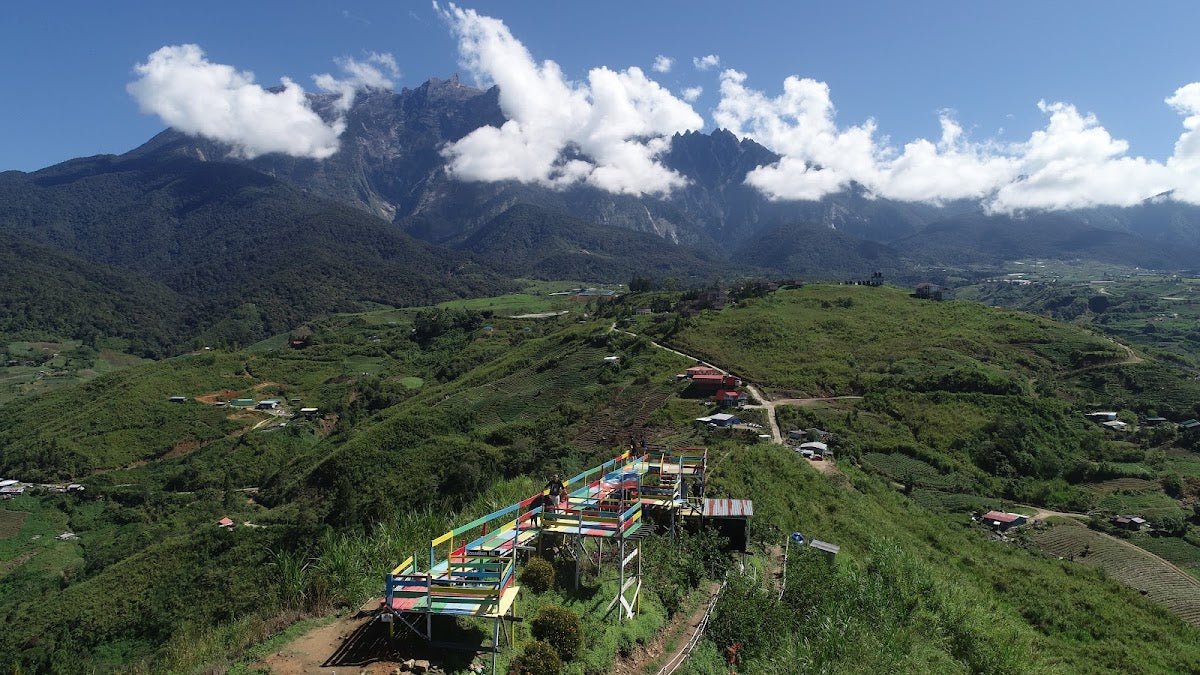
Gunung Baling is a 546-metre limestone peak sitting just north of Baling town in Kedah, and it punches well above its weight. The summit delivers a genuine 360° panorama — Penang Island to the west, the Thai border to the east, and on a good morning, the Kedah plains swallowed under a carpet of clouds (awan karpet) that makes the early wake-up completely worth it. This is not a jungle trudge where you fight for a view at the top. The summit is open, airy, and dramatic.

It suits novice to moderately experienced hikers, and families do bring kids here — though "challenging" is the honest word for young children given the steep opening and the rocky scramble near the top. If you're reasonably fit and not afraid of using your hands on rocks, you'll be fine. Just respect the rules: this is a tightly managed hill with a hard cutoff time, limited slots, and zero tolerance for rainy-weather hiking.
The main draw is the sunrise. Serious hikers start at 4 AM to catch the light by 6:30 AM. But even a standard morning hike starting at 8 AM gives you brilliant views before the heat turns savage — and at the summit, temperatures can hit 37–41°C once the sun is up. Plan accordingly.
Quick Facts
- Summit elevation: 546 m
- Elevation gain: 422–450 m
- Distance: ~3.2 km out-and-back (roughly 1.85–2 km one-way)
- Duration: 1–3 hours depending on fitness; most moderately fit hikers do it in 1–1.5 hours up
- Difficulty: Moderate — straightforward but genuinely uphill; suitable for novice to moderately experienced hikers
- Permit: Required — RM 10 (Malaysians) / RM 30 (foreigners)
- Trailhead: 1.5 km north of Baling town, Kedah
- Parking: Free, at the forestry office
- No overnight stays permitted
- Hike closed: Immediately when raining; no hikes starting after 10:00 AM
Getting There & Parking
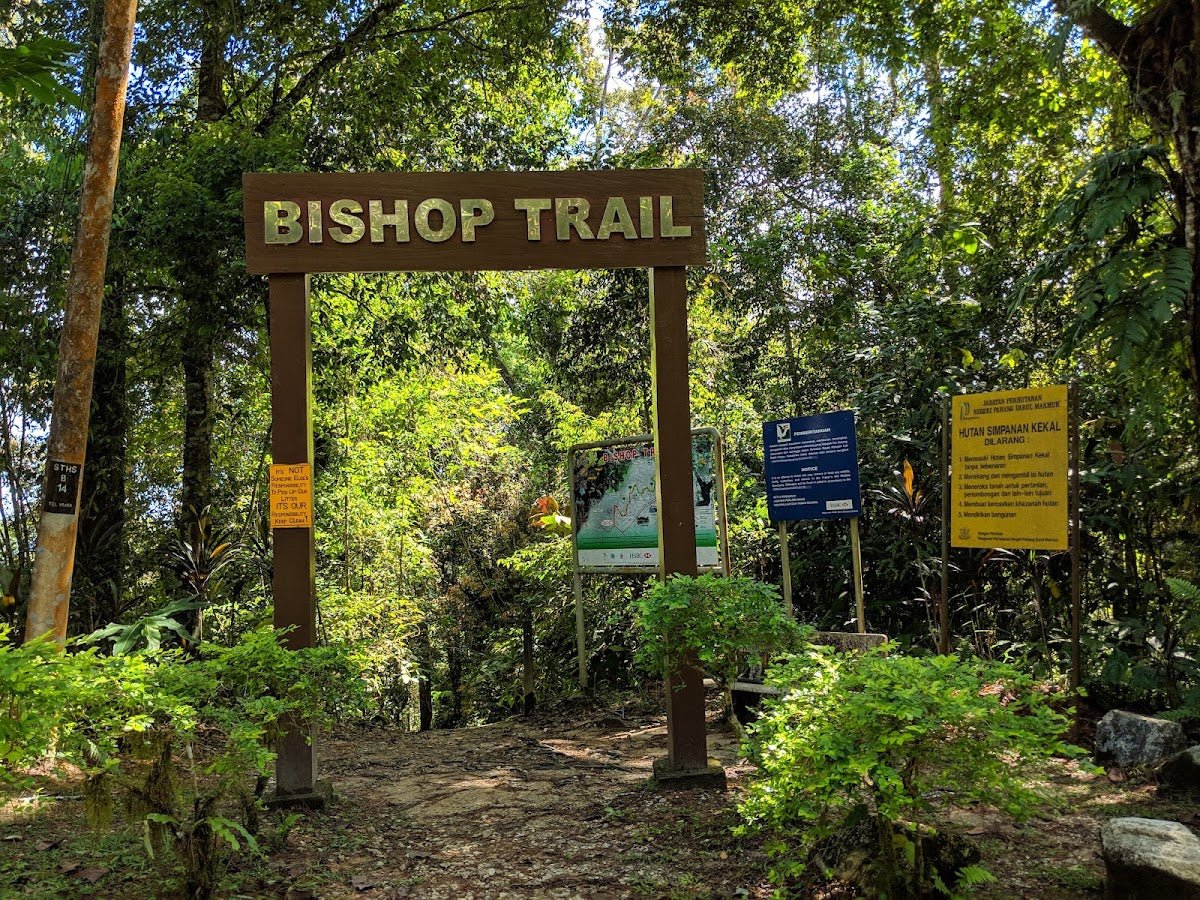
The trailhead is 1.5 km north of Baling town. GPS coordinates: 5.687112°N, 100.914694°E.
From the North-South Expressway (E1), take Exit 163 and follow Route 4/E15 for approximately 56 km. Turn left onto Route 67 for 11.8 km, then continue straight for 1.6 km to the entrance. If you're coming from Baling town itself, drive past the clock tower, cross the Sungai Ketil bridge, and look for the blue welcome signboard. From Penang Island, budget about 1 hour 20 minutes' drive.
Parking is free at the forestry office compound. Washroom and shower facilities are available on-site — useful after the descent when you're sweaty and covered in trail dust. Parking fills up fast on weekend mornings, so arrive early.

Permits & Fees
A permit is required for everyone. Fees are RM 10 for Malaysian citizens and RM 30 for foreign tourists. The permit covers your entry, a completion certificate, parking, and use of the toilet and shower. Payment is by card only — no cash.
Permits are issued by the Pendakian Gunung Baling office / Baling District Council at the trailhead. Office hours are tight: Friday 7:00–9:00 AM only; Saturday through Thursday 8:00–10:00 AM. The hiking window closes at 10:00 AM sharp — if you haven't started by then, you're not going up that day. On Fridays, the office closes after 9 AM and does not reopen in the afternoon, so Friday hikes are essentially a 7–9 AM window only.
Slots are limited to 150 people per session. Hikers have turned up from Penang only to be told "pendakian hari ini sudah penuh" — it happens, especially on weekends. Arrive early or risk the trip for nothing.
For official early-morning sunrise hikes starting before 7 AM, you'll need to submit an official letter to the District Council with guide details at least 3 weeks in advance. Minimum group size is 30 participants. This is a formal procedure — not something you organise the night before.
Guide assignment varies by time slot. For official early slots, a guide is mandatory (RM 100–150 per group of up to 10 people). For hikes starting after 8 AM, a guide is generally not required. Confirm this with the office when you arrive, as the arrangement can change.
Trail conditions and permit requirements change — always check with the local forestry office or park authority before you go. Or ask the TAHAN Hiking Community on WhatsApp — someone's usually been there that week. Checking a different gunung? Try our free permit checker — instant answer for 90+ Malaysian mountains.
The Trail: What to Expect
The trail is roughly 1.85–2 km one-way with 422–450 m of elevation gain packed into that short distance. That compression is what makes it feel harder than the numbers suggest. Three distinct stages, each with its own character.

Stage 1 – Initial Steep Climb (first ~400 m)
The trail wastes no time. From the trailhead you're immediately into a 30–45° ascent on soil and mud trail. After rain, this section is slippery enough to make you wish you'd worn proper grip. Handrails are in place at the steepest sections, which helps, but don't lean on them as your only plan. There are three rest checkpoints along this stretch, each with a surau if you need to stop for prayer. Use the rest stops — the first 400 metres set the tone for everything above.
Stage 2 – Forest Trail (next ~300 m)
A welcome change of pace. The gradient eases to flat or gradual climbing, with a mix of stairs and jungle trail through the forest. This is where you catch your breath and reset before the final push. Don't mistake it for the finish — Stage 3 is waiting.

Stage 3 – Rocky Ascent to Summit Ridge (final ~1.1 km)
This is the section that makes Gunung Baling memorable. The trail turns into a proper rocky scramble over limestone — sharp, jagged, unforgiving if you fall. At several points you're crawling under boulders and squeezing through rock openings. Gua Kambing, a limestone cave with a wooden ladder through a rock opening, appears along this stretch — one of the more interesting features of the route. Take your time here, watch your footing, and protect your hands. The rock is rough enough to shred skin.
The payoff is the summit ridge: open sky, a 360° view with nothing blocking it, and on a clear morning, Penang Island visible to the west and the hills running north towards Thailand. There's a metal sign at the summit that's become a popular photo spot — but it's a high-risk position. Be sensible.

Descent & Safety
Coming down is where most people get into trouble. The steep Stage 1 section that felt manageable on the way up becomes genuinely tricky on the descent — especially if it's warmed up and you've been sweating for an hour. Take the rocky section slowly, face inward on the steeper parts, and use the handrails on Stage 1.
A trekking pole makes a real difference on the descent here. The TAHAN 3-Section Foldable Hiking Stick V2 packs down small enough to stow for the rocky scramble and deploys fast for the muddy downhill sections — that's the kind of practical design that earns its place in the pack.
Key hazards to keep in mind:
- Sharp and jagged limestone rocks throughout Stage 3 — real injury risk if you slip
- Muddy, slippery tracks after rain — the hike is closed immediately when it rains, and for good reason
- Intense heat and sun exposure at the summit; temperatures reach 37–41°C once the sun is up
- No toilet facilities along the trail — only at the start and end
- No water sources on the trail — what you carry is all you have
- The graffiti-covered metal sign at the summit is a known high-risk photo spot — be careful
If weather turns during your hike, turn back immediately. There is no shelter on the summit ridge, and wet limestone is not something you negotiate with. The rules exist because the mountain has earned them.

What to Bring
This is a short but steep hike with sharp rock, zero shade on the summit, no water on the trail, and card-only payment at the office. Pack for that reality, not for a casual walk.
- Water: At least 1.5–2 litres per person. There are no water sources on the trail, full stop. A hydration bladder keeps your hands free for the rocky scramble — useful kit for a route like this.
- Footwear: Proper trail shoes or hiking boots with good grip. Sandals and flat-soled shoes will get you into trouble on the muddy Stage 1 and the limestone scramble.
- Sun protection: Sunscreen, hat, sunglasses. The summit is completely exposed. Long sleeves and long pants also protect against insects and rock scrapes on Stage 3.
- Gloves: Lightweight gloves are genuinely useful for the rocky scramble in Stage 3. The limestone is rough.
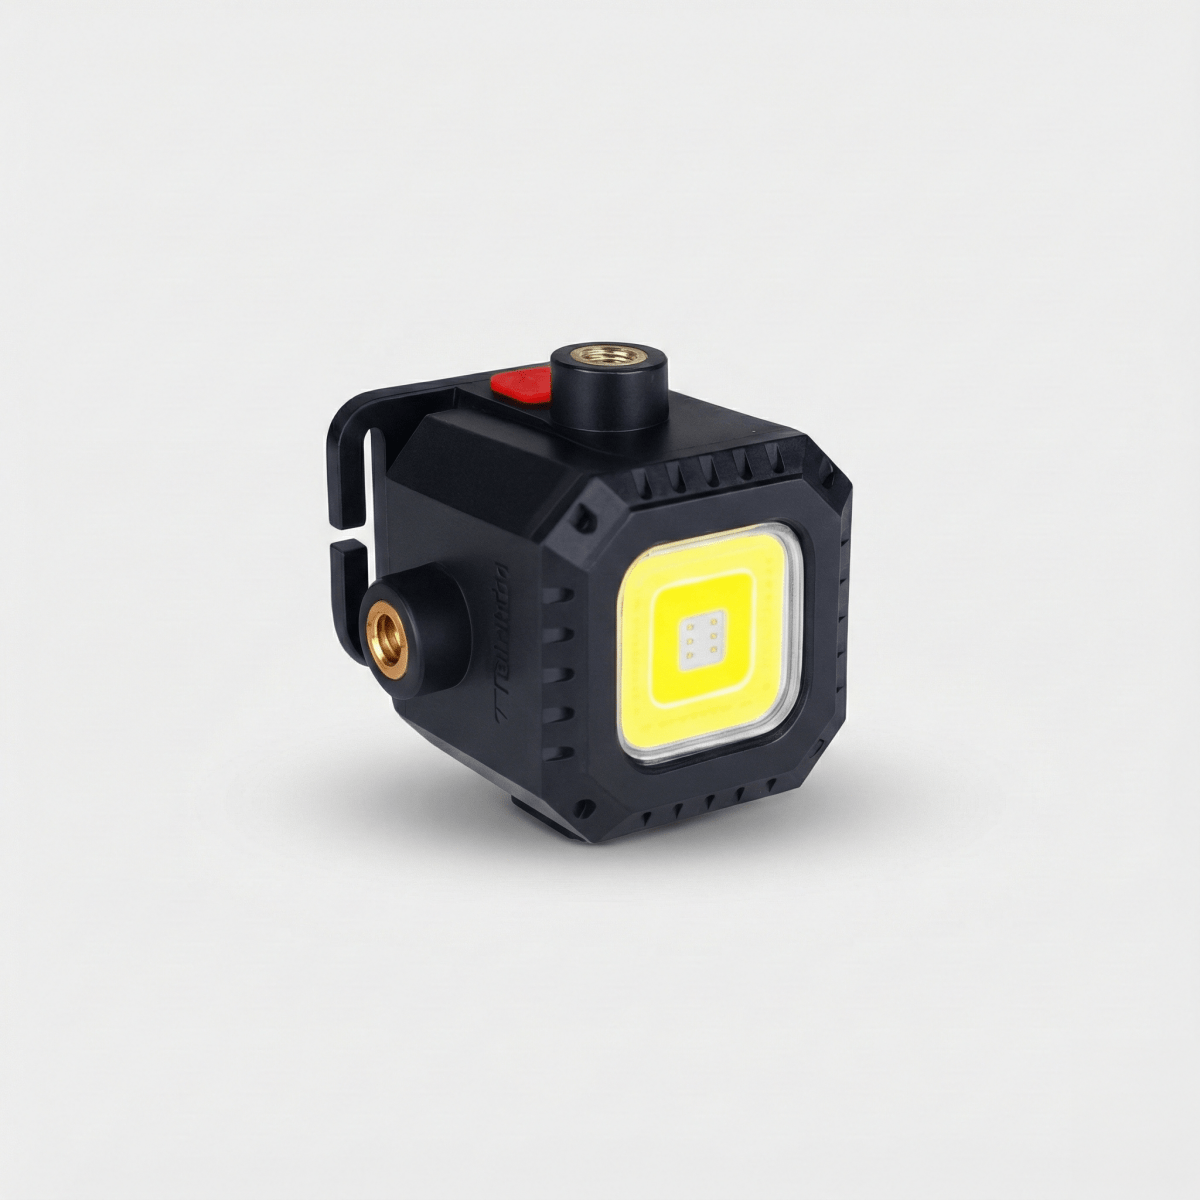
- Headlamp or torch: Essential if you're doing a pre-dawn sunrise hike. The TAHAN Luminate Multifunction Lantern doubles as a hands-free headlamp — handy when you're scrambling in the dark at 4 AM.
- Card payment: Cash is not accepted at the permit counter. Don't forget this.
- Light snack: Energy bar or banana. It's a short hike but the heat on the summit drains you faster than you expect.
- First aid basics: Plasters and antiseptic. Limestone cuts happen.
For a more complete rundown of what to look for in hiking poles and knee support for Malaysian trails, check out our hiking gear guide.
FAQ
How hard is Gunung Baling?
Moderate — but the word does some heavy lifting here. The trail is short (roughly 3.2 km out-and-back) but the elevation gain of 422–450 m is packed into less than 2 km one-way. Stage 1 is a steep 30–45° climb on mud trail, and Stage 3 involves scrambling over sharp limestone and crawling under boulders. It's manageable for reasonably fit beginners who prepare properly, but it is not a casual walk. Don't rock up in flip-flops expecting a stroll.
How long does Gunung Baling take?
Most moderately fit hikers complete the ascent in 1–1.5 hours. Total time including descent ranges from 1–3 hours depending on your fitness and how long you spend at the summit. Factor in time at the permit counter, especially on weekends when there can be a queue and slots are capped at 150 people.
Do I need a permit for Gunung Baling?
Yes, a permit is required for everyone. RM 10 for Malaysians, RM 30 for foreigners. It covers your entry, completion certificate, parking, and facilities. Payment is by card only. The permit counter operates on tight hours (Saturday–Thursday 8:00–10:00 AM; Friday 7:00–9:00 AM only), and hiking closes at 10:00 AM. Don't assume you can just walk in — slots fill up, especially on weekends.
Can I hike Gunung Baling without a guide?
For standard hikes starting after 8 AM, a guide is generally not required. For official early-morning sunrise hikes (before 7 AM), a guide is mandatory and requires a formal letter to the District Council submitted 3 weeks in advance with a minimum of 30 participants. Confirm the current arrangement with the office when you arrive, as requirements can change.
Camp Nearby?
Making a weekend of it? Gunung Baling is in Kedah, and the surrounding region has some decent options if you want to rest up before an early morning start or explore the area further. For something closer to the Baling area, check out the KIF Campsite Baling — practical to know about if you want to be on-site the night before without a long pre-dawn drive. If you're coming from the Penang side and want to break the trip up, Nadi Glamping Suites, Penang is worth a look for a comfortable base. And if you want to extend the Kedah adventure, Sedim Signature Campsite is in the same general region and worth a night.
Trail conditions, permit updates, and hiking buddies for the weekend — all in one WhatsApp group. Just ask; someone was probably up there last week.
💬 Join the Hiking CommunityFree, one click. No spam — the occasional promo at most.
Gear tip: Water bladder or bottle on a humid trail.
Mike has been camping across Malaysia for over 10 years — from jungle treks in Taman Negara to beach camps in Perhentian. He writes about it so you don't have to find out the hard way. Follow along on TAHAN Outdoor's blog for honest campsite reviews, every week.